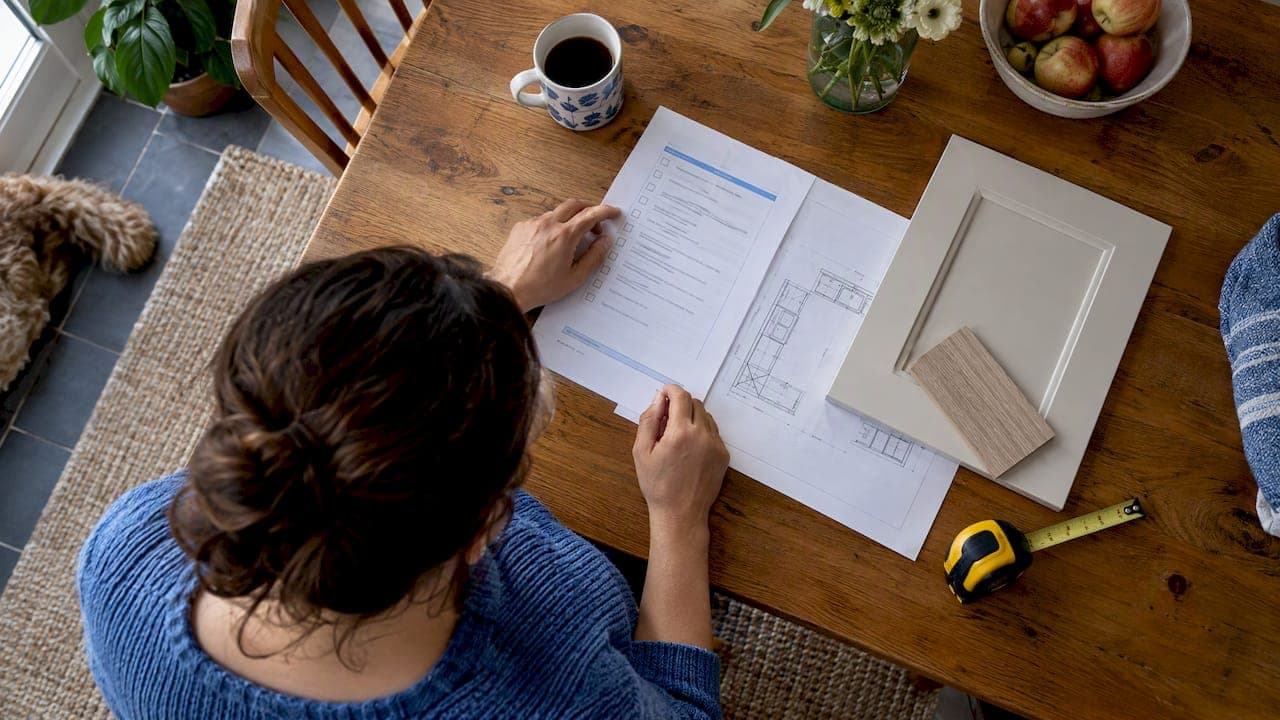
A cabinet order is hard to undo. Once boxes ship, a wrong width, a missing filler or a mismatched finish costs you time on site and often money. This cabinet order checklist walks you through nine checks, from measurements to delivery day, so the order you place is the order you need. It works for homeowners, contractors, builders and property managers alike.
TL;DR
- Field-measure the room yourself, confirm the layout on a dimensioned plan, and only then build the order list.
- Lock in appliance, sink, plumbing and electrical details before you pick cabinet sizes.
- Match every line of the order to the plan: line, style, finish, fillers, panels, trim and hardware.
- Decide in writing who assembles and who installs, then plan delivery space and inspect every carton.
- Note any damage or shortage on the delivery receipt at the door, and photograph it.
Table of Contents
- Why a checklist pays off
- 1. Verify your measurements
- 2. Review the layout on a dimensioned plan
- 3. Confirm appliance, sink and utility details
- 4. Match every cabinet to the order list
- 5. Confirm construction, line, style and finish
- 6. Check fillers, panels, trim and accessories
- 7. Decide who assembles and who installs
- 8. Prepare for delivery day
- 9. Know what to do if something is wrong
- Our perspective on ordering cabinets
- Ready to order?
- Quick-reference cabinet order checklist
- FAQ
- Sources
Why a checklist pays off
Most ordering problems are not manufacturing problems. They are information problems: a wall that was not square, an appliance spec that changed after sizes were set, a door style that looked different on a screen. A checklist forces those questions early, when fixing them costs a few minutes instead of a re-order.
Work through the steps in order. Each one feeds the next, so skipping ahead is how errors slip in. If you want a deeper look at common slips, our guide to kitchen cabinet mistakes to fix before you order pairs well with this list.
1. Verify your measurements
Every order starts with accurate numbers. Do not rely on old plans or a builder's drawing alone.
- Measure wall lengths at counter height and again near the ceiling. Walls are rarely perfectly straight.
- Record ceiling height at several points, since floors and ceilings can slope.
- Mark the position and size of windows, doors, trim, vents, and any bulkheads.
- Measure from fixed points, such as a corner to the center of a window or a sink drain.
- Write down everything twice and have a second person check the figures.
Professional specifications treat this as a standard step. University of Maryland contractor specifications, for example, call for field measurement of the actual construction next to the casework before fabrication begins. Homeowners benefit from the same discipline.
Need a walk-through? See how to measure a kitchen for new cabinets. If you are only replacing fronts, use the guide to measuring for new cabinet doors instead.
2. Review the layout on a dimensioned plan

A list of cabinets is not a plan. Before you order, put the layout on paper, drawn to scale or fully dimensioned, with the cabinets, countertops and plumbing fixtures shown. That is also what many building departments expect: one California city's kitchen remodel handout asks for plans to scale or fully dimensioned, including a proposed floor plan showing cabinetry, counters and fixtures.
On your plan, check these points:
- Which wall holds each base, wall and tall cabinet, labeled by elevation.
- Corner solutions, such as a diagonal sink base or a blind corner, and how doors will swing around them.
- Clearances for traffic. The NKBA planning guidelines recommend a work aisle of at least 42 inches for one cook and 48 inches for multiple cooks, measured between counter fronts, tall cabinets and appliances.
- Drawer and door conflicts, such as a dishwasher door hitting a drawer front.
If you are sizing up walkways, our piece on kitchen walkway widths and on-site measuring shows how to test them. For help arranging units, read the practical cabinet configuration layout guide.
3. Confirm appliance, sink and utility details
Cabinet sizes follow appliances, not the other way around. Get the actual spec sheets before you finalize anything.
- Range and cooktop: width, and the clearance above it. The same Pleasant Hill handout lists 30 inches of vertical clearance above a range to combustible materials, which affects wall cabinet or hood placement. Your local code and the appliance manual rule if they differ.
- Refrigerator: width, height, depth and door swing, plus the cabinet opening above it.
- Dishwasher: its width and where it sits relative to the sink.
- Sink: the model, bowl size and mounting type, so the base cabinet fits it. A diagonal corner sink base, for example, changes how the plumbing is roughed in.
- Plumbing and electrical: the locations of supply lines, drains, outlets and any vent run that passes through a cabinet.
Electrical rules matter too. The same handout notes that kitchen countertop receptacles need GFCI and AFCI protection for 125-volt, 15- and 20-amp circuits. Have your electrician review outlet positions against your cabinet layout, since backsplash height and wall cabinet placement both depend on them. Rules vary by jurisdiction, so confirm with your local building department.
4. Match every cabinet to the order list
This is the check that catches the most errors. Read the order list against the plan one cabinet at a time.
- Confirm the project name or job number appears on every document.
- Check that each room or elevation label on the plan matches a line on the order.
- Count quantities for each cabinet type on the plan, then count them again on the order.
- Compare width, height and depth for each unit. A 36-inch base and a 33-inch base look similar on a list.
- Check hinge or door-swing direction on any single-door unit next to a wall or appliance.
- Read every special instruction, such as a modified depth or a finished end, and see that it shows on the order.
Production shops commonly review jobs in a fixed order so conflicts surface the same way every time, and a second person checking a high-risk line helps. You can borrow that habit: check in the same sequence for each room, and ask someone who did not build the list to read it back.
For a multi-unit project, a repeatable process saves hours. Our multifamily cabinet procurement playbook covers unit-type schedules and bulk ordering. Builders and owners can also use the NKBA-based checklist to avoid cabinet ordering mistakes.
5. Confirm construction, line, style and finish
Two cabinets can look alike and be built very differently. Ask and confirm:
- Box construction: plywood or particleboard, and the thickness of the sides, back and shelves.
- Doors and drawers: solid wood or veneer, and how the drawer boxes are built.
- Hardware: soft-close hinges and drawer slides, and whether they come standard.
- Door style: Shaker, traditional or slim profile, and whether the door is flat or raised panel.
- Finish: the exact color name and sheen, and whether it is painted or stained.
On screens, color is unreliable. Order samples before committing to a finish for a whole kitchen. You can order sample doors and hold them next to your flooring, counters and wall color in the room's real light. If you are unsure about profile, the guide to cabinet door styles explains how each reads in a kitchen, and the raised panel style checks help if you are leaning traditional.
In our case, our cabinets use plywood boxes and solid wood doors, with soft-close hardware, in modern, traditional and transitional styles. The Shaker, Classic and Slim series are all on our RTA cabinets page.
6. Check fillers, panels, trim and accessories
The small items are the ones most often left off, and they are the ones that stop an installer on day one.
| Item | What to confirm |
|---|---|
| Filler strips | Quantity and width at walls, corners and appliance gaps |
| End panels | Which cabinet ends are exposed, and whether finished sides are needed |
| Toe kick | Total run length, with allowance for cuts. For example, a white Shaker toe kick comes in 96-inch lengths |
| Crown or light rail | Which runs get molding, and the matching finish |
| Refrigerator panels | Depth and the finished surface that shows |
| Hardware | Knobs or pulls, quantity per door and drawer, and hole spacing |
| Accessories | Trays, organizers, spice pull-outs, waste bins |
Count knobs and pulls by walking your plan: one per door, one or two per drawer depending on width. Add a few spares. For tall storage, check that a unit such as a natural Shaker utility cabinet at 96 inches tall clears the ceiling and any crown molding you plan.
7. Decide who assembles and who installs
Assembly and installation are two separate jobs, and mixing them up is a common source of surprise costs.
- RTA (ready-to-assemble): the boxes arrive flat and are assembled on site. This lowers shipping volume and cost, and it suits contractors and builders with crews, and capable homeowners.
- Assembled: boxes arrive built, which saves labor and speeds up the install. Compare your options on our assembled cabinets page.
- Installation: this is separate from either option. Settle who hangs the cabinets, who handles countertops, plumbing and electrical hookups, and who removes the old units.
Put those responsibilities in writing before you order. Also ask what happens when the site is not ready: who stores the cabinets, and for how long. A dry, climate-stable room is the right place for cabinets before install, not a garage with open doors.
8. Prepare for delivery day
Cabinet orders usually ship by freight carrier on pallets, and a large kitchen can mean many cartons. Plan the logistics before the truck arrives.
- Clear a staging area close to the work zone, and check that a pallet can reach it.
- Confirm whether delivery is to the curb, the driveway or inside, and what help the driver provides.
- Have two or more people on hand to move cartons, and a utility knife ready.
- Keep your order confirmation and packing list handy so you can check cartons against it.
- Plan a time window when someone who can sign and inspect will be present.
At the door, inspect before you sign. Freight-receiving guidance advises that you note damage on the delivery receipt itself, and that failing to note damage or shortage at receipt greatly reduces your chance of collecting on a claim. The same guidance says to be specific, for example a crushed corner or a wet stain, and not to feel rushed by the driver.
Then work through this short routine:
- Count pallets and cartons against the bill of lading.
- Look at the outside of each carton for crushed corners, punctures and water marks.
- Photograph damage before anything is moved.
- Write each specific problem on the receipt before you sign.
- Open cartons soon after delivery, not weeks later, and check each cabinet against the order list.
Within the first day or two, open every box and check each cabinet for the right size, style and finish. Look for scratches, chips, cracked panels and missing hardware. Keep packaging until you are sure everything is right.
9. Know what to do if something is wrong
Problems happen even with careful orders. How you respond in the first days often decides how easily they are fixed.
- Damaged: you have the receipt notation and photos. Contact the seller promptly, send the photos and the order number, and keep the damaged item and packaging until you are told otherwise.
- Incorrect: compare the item with the order confirmation. If the cabinet shipped is not the one you ordered, send photos of the label and the cabinet, along with the line from your order.
- Incomplete: check the packing list and every carton before you report a shortage. Hardware and fillers sometimes ship in a separate box.
Before you order, read the seller's return, damage and claim terms, and note the time limit for reporting problems. Ask how replacement parts are shipped and how long that usually takes. A project schedule can absorb a single replacement door. It struggles with a re-order of a whole run.
Our perspective on ordering cabinets
We sell cabinets to homeowners, contractors, builders, designers and property managers, and the ordering mistakes we see are rarely dramatic. They are small: a filler left off, a finish chosen from a screen, a delivery with nobody there to inspect it. The projects that go smoothly all share one habit. Someone checks the order against the plan before it is placed, and not after the boxes arrive.
We built our offering around the problems that slow a project down: long lead times and high costs. That is why we focus on fast shipping, plywood boxes, solid wood doors and soft-close hardware at competitive prices. We are a women-owned and veteran-owned business, and we think that shows in how carefully an order should be handled.
Our advice is simple. Order samples, write down who does what, and read your order out loud against your plan one more time. If the numbers still match, you are ready.
— Nathan
Ready to order?
Once your plan and list agree, you can build your order with us. Browse our RTA cabinets in Shaker, Classic and Slim series, choose assembled cabinets if you want to save install time, or start from our kitchen and bathroom cabinet collections. Contractors and builders can ask about bulk and trade options. Shop Now and put the checklist to work.
Quick-reference cabinet order checklist
Copy this list into your project notes.
- Walls, ceiling, windows, doors and obstacles measured and double-checked
- Layout drawn to scale with elevations labeled
- Appliance and sink spec sheets in hand, utility locations marked
- Local code clearances and outlet requirements confirmed
- Every cabinet on the order matched to the plan, with quantities counted twice
- Construction, line, style, finish and hardware confirmed in writing
- Fillers, end panels, toe kick, trim and accessories added
- Assembly and installation responsibilities agreed
- Delivery space, help and a receiving person arranged
- Damage noted on the receipt, cartons opened and checked promptly
- Return and claim terms read before ordering
FAQ
What should be on a cabinet order checklist?
It should cover verified measurements, a dimensioned layout, appliance and sink specs, a cabinet-by-cabinet match to the order, line, style and finish, fillers, panels and trim, hardware, assembly and installation responsibilities, and delivery inspection. The nine checks above follow that sequence.
How far ahead should I check my order?
Check it before you pay, and check it again after you receive the confirmation. Mistakes found before shipping are usually simple to correct. Once cabinets are in the truck, the same fix can mean a new order and a delay.
Should I order samples before buying cabinets?
Yes, especially for a whole kitchen. Colors and sheens look different in your lighting than on a screen. Hold a sample door against your counters, flooring and walls before you commit.
What do I do if my cabinets arrive damaged?
Note the damage on the delivery receipt before you sign, photograph it, and contact the seller quickly with the order number and photos. Keep the damaged item and packaging until you are told what to do with them.
Do I need a professional to install RTA cabinets?
Not always. Many homeowners and crews assemble and hang RTA cabinets themselves. If the job involves plumbing, electrical or countertops, bring in licensed trades for those parts and follow your local permit rules.
Sources
- Pleasant Hill kitchen remodel handout
- University of Maryland contractor specifications, manufactured wood casework
- NKBA Kitchen Planning Guidelines
- Acceptance of shipment do's and don'ts