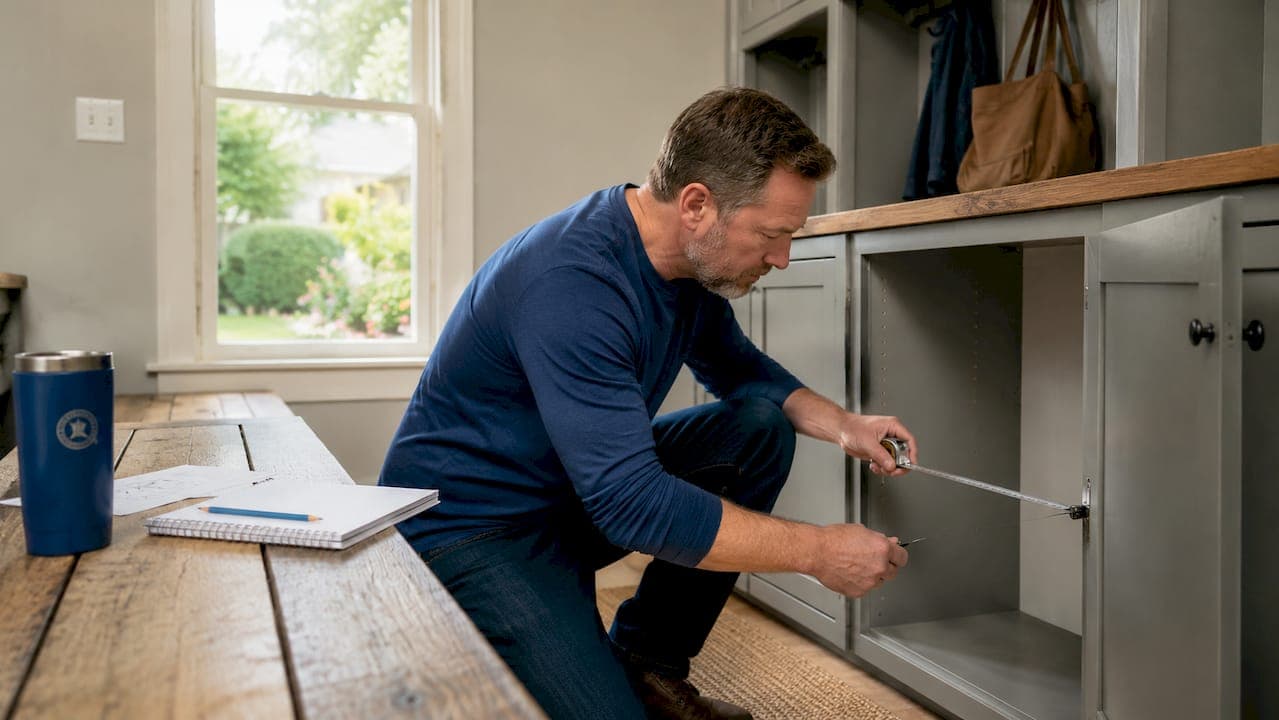
Measuring for new cabinet doors is defined as recording the exact width and height of each cabinet opening to the nearest 1/16 inch, then applying overlay or reveal calculations to determine the correct door size. Get this wrong and your doors will bind, gap, or simply not fit. Get it right and your kitchen or bathroom renovation goes smoothly from order to installation. This guide covers every step, from identifying your cabinet type to calculating door dimensions and avoiding the mistakes that send homeowners back to square one.
How to measure for new cabinet doors: start with cabinet type
Knowing your cabinet type is the single most important step before you touch a tape measure. Misidentifying framed vs. frameless cabinets is a leading cause of ordering delays because it directly affects door sizing and hinge requirements. Getting this wrong means your new doors will not fit, no matter how carefully you measured.
Framed cabinets have a solid wood face frame attached to the front of the cabinet box. The frame creates a visible border around the door opening. Doors on framed cabinets can be full overlay, partial overlay, or inset, depending on how much of the frame the door covers.
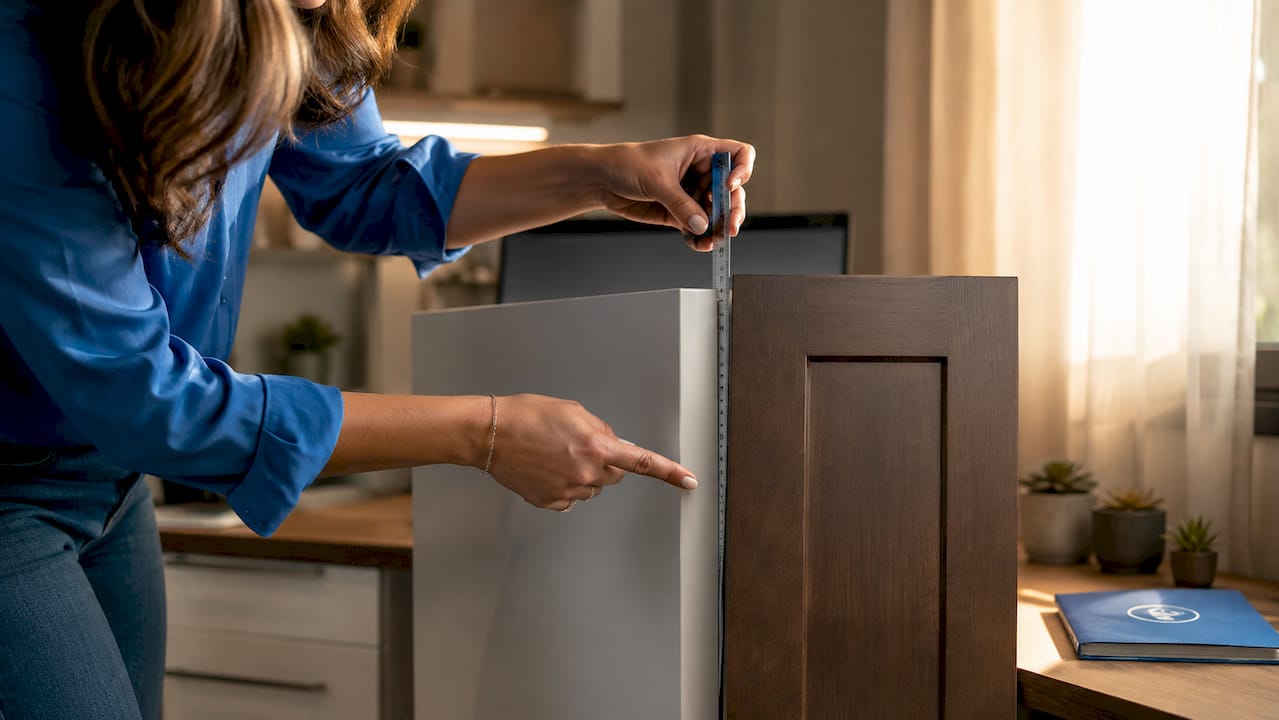
Frameless cabinets (also called European style) have no face frame. The door attaches directly to the side of the cabinet box. Full overlay is the standard for frameless cabinets, meaning the door covers nearly the entire front of the box.
Here is why this distinction matters for your measurements:
- Framed, partial overlay: The door overlaps the face frame by a set amount on each side, typically 3/8 inch to 1/2 inch per edge.
- Framed, full overlay: The door covers most or all of the face frame, leaving only a small reveal between adjacent doors.
- Framed, inset: The door sits flush inside the face frame opening, requiring a small gap (reveal) on all sides for clearance.
- Frameless, full overlay: The door covers the full cabinet box front, with only a small gap between adjacent doors.
For a deeper look at the differences between these two systems, the face frame vs. frameless comparison from Best Cabinet Specialist breaks down the practical implications for door sizing and hinge selection.
Pro Tip: If you are unsure which type you have, open a door and look at the inside edge of the opening. A visible wood frame around the opening means framed cabinets. No frame means frameless.
What tools do you need before measuring?
The right tools prevent measurement errors before they happen. A steel tape measure is non-negotiable; cloth tapes stretch over time and produce inconsistent readings. Invest in a quality steel tape with clear 1/16 inch markings.
Here is a complete preparation checklist:
- Steel tape measure (at least 12 feet, with 1/16 inch increments)
- Notepad and pencil for recording measurements by cabinet location
- Level to check if the cabinet box is plumb and square
- Straightedge to identify bowing or warping inside the opening
- Painter's tape and marker to label each cabinet directly on the box
- Camera or phone to photograph each opening with its label visible
Preparation matters as much as the tools themselves. Remove existing doors before measuring so nothing blocks your tape measure. Label every cabinet with a number or letter before you start. Adjacent cabinets often look identical but have subtle size differences, and mixing up measurements leads to costly reorders.
| Tool | Purpose | Why it matters |
|---|---|---|
| Steel tape measure | Measure width and height | Cloth tapes stretch and give false readings |
| Notepad | Record measurements by cabinet | Prevents mix-ups across multiple openings |
| Level | Check cabinet squareness | Nonsquare openings require smallest measurement |
| Painter's tape | Label each cabinet | Keeps measurements organized for ordering |
Pro Tip: Measure every cabinet individually, even if they look the same. Cabinet openings in older homes are rarely identical, and assuming uniform sizes is one of the most common ordering mistakes.
Step-by-step guide to measuring cabinet openings
This is the core process. Follow each step in order and record every number as you go.
-
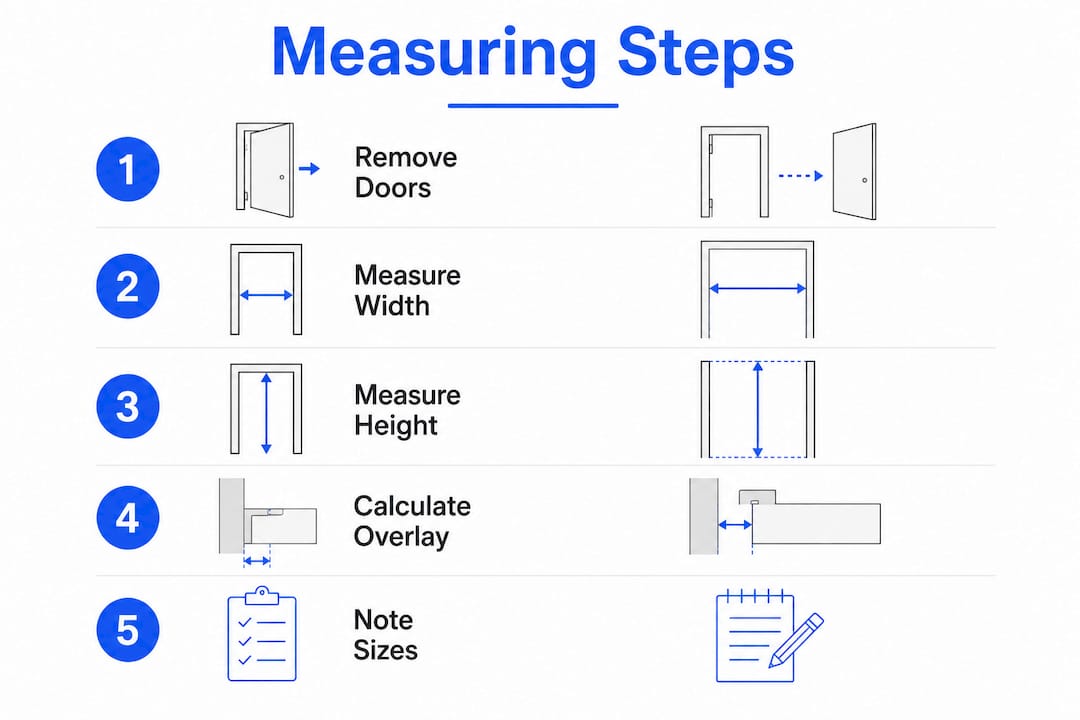
Remove existing doors. Measure the cabinet opening itself, not the old door. Old doors can warp or shift over time, making them unreliable references.
-
Measure the width in three places. Take one measurement at the top of the opening, one in the middle, and one at the bottom. Always use the smallest of the three measurements to size your door. This accounts for openings that are not perfectly square and prevents binding.
-
Measure the height in three places. Take one measurement on the left side, one in the center, and one on the right. Again, use the smallest number.
-
Record to the nearest 1/16 inch. Industry standards require this level of precision when ordering custom doors. Rounding to the nearest 1/4 inch increases the risk of gaps or a door that will not close properly.
-
Calculate your door size based on door type.
Overlay door calculation
For overlay doors, add your desired overlay to each edge of the opening. A common overlay is 1/2 inch per side.
Example: Opening is 14 inches wide and 28 inches tall. With 1/2 inch overlay on each side:
- Door width = 14 + 0.5 + 0.5 = 15 inches
- Door height = 28 + 0.5 + 0.5 = 29 inches
For overlay doors, add the overlay amount to each edge of the measured opening to get the final door size.
Inset door calculation
Inset doors sit inside the opening. Subtract a small reveal from all sides to allow for clearance and wood movement. A standard reveal is 1/16 inch to 1/8 inch per side.
Example: Opening is 14 inches wide and 28 inches tall. With 1/8 inch reveal on each side:
- Door width = 14 minus 0.125 minus 0.125 = 13 3/4 inches
- Door height = 28 minus 0.125 minus 0.125 = 27 3/4 inches
A consistent reveal around inset doors is what separates a professional result from a DIY mishap. Uneven gaps are immediately visible and very hard to fix after installation.
Double door calculation
For openings with two doors side by side, include a 1/8 inch center gap between the doors to prevent binding. Subtract that gap from the total width before dividing by two.
Example: Total opening is 30 inches wide.
- Subtract 1/8 inch center gap: 30 minus 0.125 = 29.875 inches
- Add overlay to each outer edge (1/2 inch per side): 29.875 + 1 = 30.875 inches
- Divide by 2 for each door: 15 7/16 inches per door
Pro Tip: Write the final calculated door size next to the raw opening measurement in your notes. Keeping both numbers visible prevents you from accidentally ordering the opening size instead of the door size.
What are the most common measurement mistakes?
Most measurement errors fall into a short list of repeatable patterns. Recognizing them before you start saves time and money.
- Measuring old doors instead of openings. Old doors may not represent true opening dimensions because of warping, swelling, or previous adjustments. Always measure the opening.
- Ignoring cabinet squareness. Skipping the "rule of threes" and measuring only once means a nonsquare opening will produce a door that binds at one corner.
- Rounding too aggressively. Rounding to the nearest 1/4 inch instead of 1/16 inch introduces enough error to cause visible gaps or a door that will not latch.
- Mixing up width and height. Width is always the horizontal measurement. Height is always the vertical measurement. Swapping them is surprisingly common when measuring quickly.
- Ignoring hinge drilling compatibility. Overlay amount must match your hinge type. A 1/2 inch overlay door requires a 1/2 inch overlay hinge. Mismatched hinges mean the door will not hang correctly even if the size is right.
- Assuming adjacent cabinets are identical. Label each cabinet opening and record measurements separately to avoid mixing up sizes that look the same at a glance.
The most costly mistake in cabinet door ordering is measuring the old door instead of the cabinet opening. Warped or previously adjusted doors give false dimensions that lead directly to wrong-sized replacements. Measure the opening every time, without exception.
Pro Tip: After recording all measurements, do a second pass and re-measure every third cabinet. Catching one error before ordering saves far more time than dealing with a return and reorder.
Key takeaways
Accurate cabinet door sizing requires measuring the opening to the nearest 1/16 inch, identifying your cabinet type, and applying the correct overlay or reveal calculation before ordering.
| Point | Details |
|---|---|
| Identify cabinet type first | Framed and frameless cabinets require different overlay calculations and hinge types. |
| Use the rule of threes | Measure width and height in three places each; always use the smallest number. |
| Measure openings, not old doors | Old doors warp and shift, making them unreliable references for new door sizing. |
| Apply correct overlay or reveal | Add overlay to opening dimensions for overlay doors; subtract reveal for inset doors. |
| Label and record every cabinet | Adjacent cabinets often differ slightly; separate records prevent costly ordering errors. |
Why I think most DIYers measure too fast
Most homeowners I have seen tackle cabinet door replacement rush the measurement step. They assume it is simple, grab a tape measure, jot down two numbers, and move on. That confidence is exactly where the problems start.
The detail that trips up the most people is not the math. It is the assumption that their cabinets are square. Homes built before the 1990s especially have cabinet boxes that have shifted, settled, or were never perfectly square to begin with. Measuring once at the center of an opening and calling it done will produce a door that binds at one corner or shows an uneven gap at another.
The second thing I always tell people: identify your cabinet type before you do anything else. I have seen homeowners measure perfectly and still order the wrong door because they applied a frameless overlay calculation to a framed cabinet. The DIY cabinet guide from Best Cabinet Specialist is worth reading before you start, especially if you are not certain about your cabinet construction.
Patience and a second pass through your measurements are the two things that separate a smooth order from a frustrating return. Take the extra 20 minutes. Your renovation will thank you.
— Nathan
Ready to order? Best Cabinet Specialist has you covered
Once your measurements are locked in, ordering becomes straightforward. Best Cabinet Specialist offers affordable, high-quality cabinets built with plywood boxes and solid wood doors, designed to meet the exact dimensions you provide. Their focus on fast shipping means your project does not stall waiting on long lead times.

Best Cabinet Specialist is a women-owned and veteran-owned business that takes craftsmanship seriously. Whether you are replacing a single door or ordering for a full kitchen renovation, their team is built to handle precise, project-ready orders. Accurate measurements are the foundation of a smooth order, and now you have everything you need to get them right.
FAQ
What is the standard overlay for cabinet doors?
The most common overlay for framed cabinets is 1/2 inch per side, meaning the door extends 1/2 inch beyond the cabinet opening on each edge. Full overlay doors cover nearly the entire face frame and are standard for frameless cabinets.
How do I measure for replacement cabinet hinges?
Measure the overlay of your existing door first. The overlay amount determines the hinge type you need, since hinges are rated by overlay (for example, 1/2 inch overlay or full overlay). Mismatched hinges will prevent the door from hanging correctly even if the door size is right.
Should I measure the old door or the cabinet opening?
Always measure the cabinet opening. Old doors can warp, swell, or shift from their original dimensions, making them unreliable references for ordering replacement doors.
How accurate do my measurements need to be?
Industry standards call for measuring to the nearest 1/16 inch. Rounding to the nearest 1/4 inch introduces enough error to cause visible gaps or a door that will not close properly.
Do I need to measure every cabinet separately?
Yes. Even cabinets that look identical side by side often have subtle size differences. Record measurements for every opening individually and label each one to avoid mixing up your numbers when placing an order.