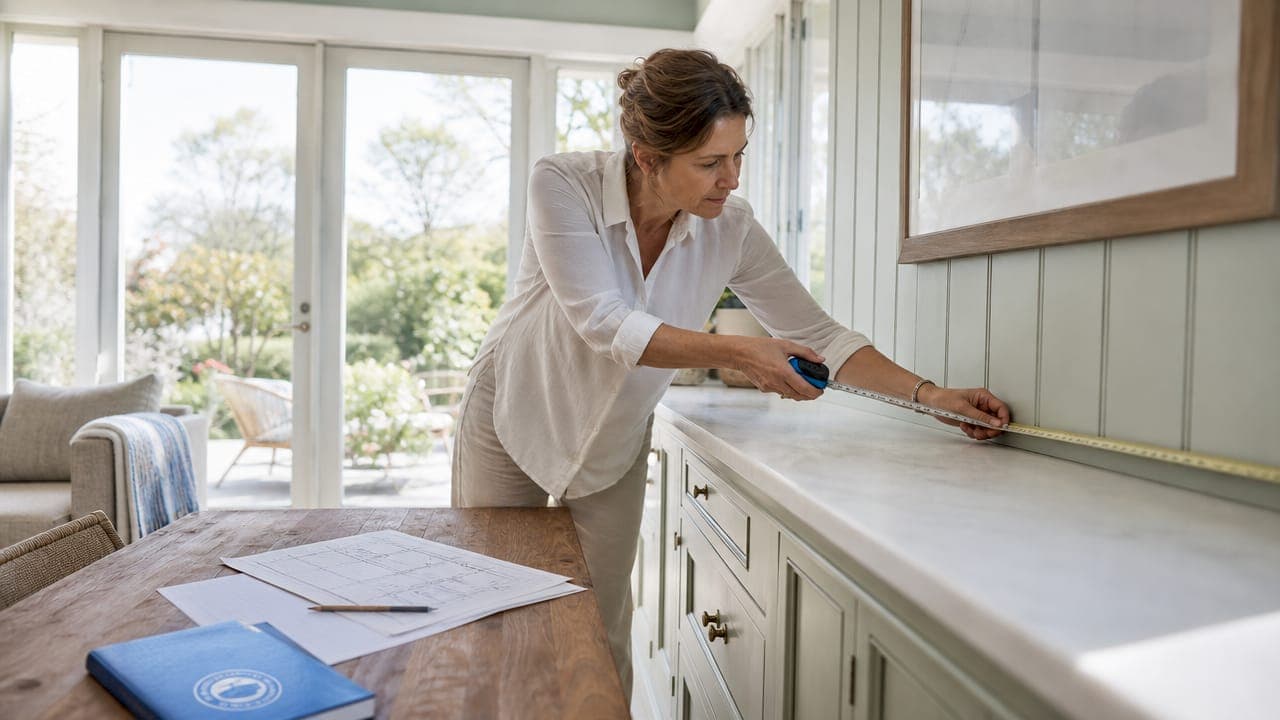
Accurate kitchen measurement is the single most important step before ordering new cabinets. Get it wrong, and you face gaps, misaligned doors, or cabinets that simply won't fit. Knowing how to measure a kitchen for new cabinets means recording every wall, opening, obstacle, and vertical dimension to the nearest 1/8 or 1/4 inch. The National Kitchen and Bath Association (NKBA) treats this level of precision as the baseline standard for any professional kitchen plan. Best Cabinet Specialist works with homeowners every day who skip this step and pay for it later. A few hours of careful measuring saves weeks of delays and hundreds of dollars in returns.
What tools and preparations do you need before measuring?
The right tools make the difference between a reliable measurement set and one full of errors. Gather these before you start:
- Steel tape measure (at least 25 feet long for full wall runs)
- Pencil and graph paper or a notepad for sketching your floor plan
- Level to check walls and floors for slope
- Laser distance measurer (optional but faster for large kitchens)
- Smartphone for photos at every stage
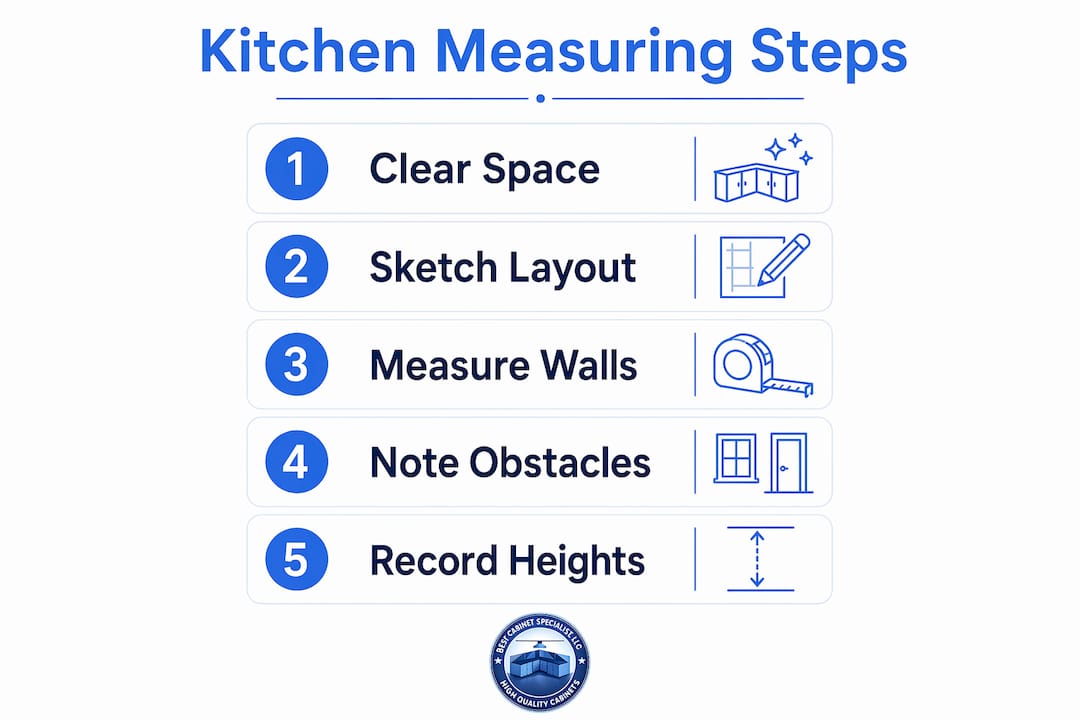
Clear the countertops and remove any freestanding furniture or appliances that block the walls. Labeled photos and sketches help you avoid confusion when communicating your measurements to a cabinet supplier or installer. Take photos of each wall before you start writing anything down. This gives you a visual backup if a number looks wrong later.
Pro Tip: Sketch a rough bird's-eye floor plan on graph paper before you measure. Assign a letter to each wall (Wall A, Wall B, and so on). Every measurement you record goes next to its wall letter, which keeps your notes organized and easy to hand off.
How do you measure walls, openings, and obstacles for new kitchen cabinets?
This is the core of the process. Work wall by wall and record everything.
-
Measure each wall's total length. Run your tape measure from corner to corner at countertop height, which is approximately 36 inches from the floor. Walls measured at cabinet height give a more accurate reading than floor or ceiling level because walls can bow or lean inward over time. Record the smallest dimension you find.
-
Mark every window and door opening. Measure the width of each opening from one side of the frame to the other. Then measure the height from the floor to the top of the frame. Note how far each opening sits from the nearest corner.
-
Measure appliances in place. Record the width, height, and depth of your refrigerator, range, and dishwasher. Include handle depth on the refrigerator, since that projects into the walkway and affects cabinet clearance.
-
Locate all obstacles. Measure the position of boilers, pipes, electrical outlets, and ducting by recording their width, depth, height, and distance from the nearest corner and the floor. A gas line you forget to note can block an entire cabinet run.
-
Check window sill depth. Window sill projections can interfere with wall cabinets if you order a standard depth without accounting for the overhang. Measure from the wall surface to the front edge of the sill.
-
Record everything with labels. Write each measurement next to the corresponding feature on your sketch. Use arrows to show direction and always note which wall you are measuring.
Pro Tip: Measure each wall at three heights: floor level, countertop height (36 inches), and ceiling height. Use the smallest of the three numbers when planning your cabinet layout. This prevents ordering cabinets that fit at one height but not another.
Understanding cabinet pricing per linear foot becomes much easier once you have accurate wall lengths in hand. You can calculate your total linear footage and get a realistic budget before you ever contact a supplier.
How do you measure existing cabinets for replacement?
Replacing existing cabinets requires a second layer of measurement on top of your room dimensions. You need to know exactly what you have before you can order what fits.
- Cabinet box dimensions: Measure the width, height, and depth of each cabinet box. Width is the most critical number. Standard base cabinets run 12–36 inches wide in 3-inch increments, but older kitchens often have custom sizes that break this pattern.
- Door dimensions: Measure each door's width and height. Note the reveal, which is the gap between the door edge and the cabinet frame. A full-overlay door covers nearly the entire frame, while an inset door sits flush inside it. These two styles require different hinge types and different door sizes.
- Hinge measurements: Measure the hinge cup center to the door edge, the overlay amount, and the hinge type. Photograph each hinge before removing it. This detail determines whether new doors will mount correctly on existing boxes.
- Drawer fronts: Measure width and height of each drawer front separately from the box. Note where the hardware holes sit, measured from the top and side edges.
- Label every component. Write the cabinet number on a piece of tape and stick it inside the door. Match that number to your sketch so you know exactly which measurement belongs to which cabinet.
Photographing each component as you go is not optional. Complex kitchens with L-shaped or U-shaped layouts generate dozens of individual measurements. Photos let you verify a number without pulling out the tape again.
How do you measure ceiling height and floor level?
Vertical measurements are just as important as horizontal ones, especially in older American homes where nothing is perfectly level.
Measure ceiling height at a minimum of three points across the kitchen: one near each end wall and one in the center. Older homes frequently show a variation of half an inch or more from one side to the other. That variation affects tall pantry units and the gap between wall cabinets and the ceiling.
Check the floor with a level. Place it at several spots across the room and note any slope. A floor that drops even a quarter inch over six feet will cause base cabinets to sit unevenly unless the installer uses shims. Knowing the slope in advance lets your installer plan for it rather than discover it mid-job.
Also measure the depth of any baseboard molding along the walls. Baseboards project out from the wall surface and reduce the usable depth for base cabinets. Standard base cabinets are 24 inches deep, but a thick baseboard can push the cabinet face out of alignment with neighboring units.
Pro Tip: Take all ceiling height measurements with the same tape measure and the same starting point on the floor. Switching tools or starting points mid-measurement introduces small errors that compound across a full kitchen layout.
What common mistakes should you avoid when measuring for new cabinets?
Most measurement errors fall into a short list of repeatable patterns. Knowing them in advance keeps your project on track.
- Measuring at floor level only. Floors and ceilings are rarely parallel to each other. Measuring at floor level instead of at cabinet height produces numbers that don't reflect where the cabinets will actually sit.
- Rounding too aggressively. Recording 47 and a half inches as 48 inches creates a half-inch gap that shows up as a visible flaw after installation. Always record to the nearest 1/8 inch.
- Skipping obstacles. A pipe, vent, or outlet that doesn't appear on your sketch will force a last-minute cabinet modification or a return shipment.
- Assuming walls are straight. Run your tape along the wall at cabinet height and check for bowing. A wall that bows inward by even 3/8 of an inch can prevent a cabinet from sitting flush.
- Measuring only once. Measure every dimension twice. If the two numbers don't match, measure a third time and use the number that appears twice.
Measure twice, order once. A single remeasure session costs you an hour. A cabinet return costs you weeks and often a restocking fee.
For a deeper look at how ready-to-assemble cabinet options are sized and what tolerances to expect, reviewing standard cabinet dimensions before you finalize your measurements helps you plan the layout more accurately.
Key Takeaways
Accurate kitchen measurement requires recording every wall, opening, obstacle, and vertical dimension to the nearest 1/8 inch before ordering any cabinets.
| Point | Details |
|---|---|
| Measure at cabinet height | Take wall measurements at 36 inches from the floor, not at floor or ceiling level. |
| Record to 1/8-inch precision | Rounding to the nearest inch creates gaps and misalignments during installation. |
| Document all obstacles | Note pipes, outlets, vents, and appliances with distances from corners and the floor. |
| Check vertical dimensions | Measure ceiling height and floor slope at multiple points to plan for unevenness. |
| Measure twice, always | Verify every number with a second measurement before submitting your cabinet order. |
Why I think most homeowners underestimate this step
Most renovation guides treat measuring as a five-minute task before the "real" work begins. That framing is wrong, and I've seen it cost homeowners real money.
The kitchens that cause the most installation headaches are not the complicated L-shaped ones. They are the simple galley kitchens where the homeowner assumed the walls were parallel and the floor was flat. They weren't. A 3/8-inch bow in a wall or a quarter-inch floor slope sounds trivial until you're staring at a base cabinet that rocks and a wall cabinet that won't sit flush.
Laser measuring tools have made this process faster, but they don't replace the judgment call of knowing where to measure. A laser gives you a number. You still have to decide which height to measure at and whether that number reflects where the cabinet will actually land. That decision requires understanding the process, not just the tool.
The homeowners I've seen get this right share one habit. They treat the measurement session as a separate project with its own time block, not as a quick errand before ordering. They clear the kitchen, sketch the layout, photograph everything, and measure twice. That discipline is what separates a smooth installation from a frustrating one.
— Nathan
Ready to order cabinets that fit your exact kitchen?
Once your measurements are confirmed, ordering becomes straightforward. Best Cabinet Specialist offers affordable, high-quality cabinets built with plywood boxes and solid wood doors, sized to fit the dimensions you've worked hard to record. Fast shipping means your project doesn't stall waiting on long lead times.

Best Cabinet Specialist is a women-owned and veteran-owned business that understands what homeowners need: reliable quality, fair pricing, and cabinets that arrive ready to install. Bring your measurements and browse the full cabinet selection to find options that match your kitchen layout exactly. The work you put into measuring pays off the moment your cabinets arrive and fit on the first try.
FAQ
What precision is required when measuring for new cabinets?
Record all measurements to the nearest 1/8 or 1/4 inch. Rounding to the nearest inch creates gaps and fit problems during installation.
At what height should I measure my kitchen walls?
Measure walls at countertop height, approximately 36 inches from the floor. Walls can bow or lean, and measuring at cabinet height gives the most accurate reading for cabinet placement.
Do I need to measure ceiling height in multiple spots?
Measure ceiling height at a minimum of three points across the kitchen. Older homes often show variations of half an inch or more, which affects tall cabinet and pantry unit planning.
What obstacles do I need to include in my kitchen measurements?
Record the position, width, depth, and height of all pipes, electrical outlets, vents, boilers, and appliances. Also note each obstacle's distance from the nearest corner and the floor.
How do I measure for replacement cabinet doors?
Measure each door's width and height, the reveal size, and the hinge cup center to door edge distance. Photograph each hinge before removal to confirm the overlay style and hinge type needed for new doors.