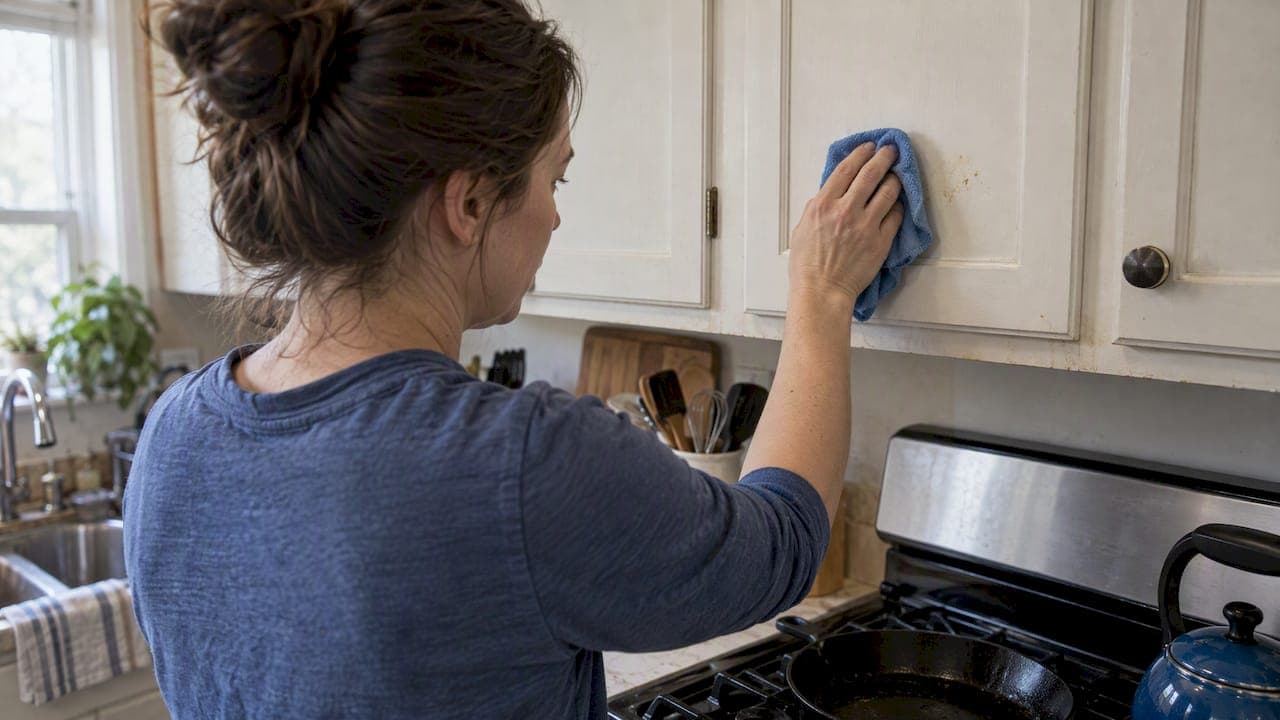
The single best thing you can do for your cabinets is wipe them daily with a microfiber cloth and a mild detergent applied to the cloth, then rinse and dry thoroughly. Never spray cleaner directly onto cabinet surfaces, and skip abrasive pads or harsh solvents entirely. Beyond that baseline, your exact approach depends on whether you have solid wood, painted, laminate, or veneer cabinets, which we cover material by material below.
TL;DR:
- Wood and veneer need little moisture and wiping with the grain; dry seams quickly, while laminate and thermofoil can lift near heat.
- For grease, let warm dish soap solution sit briefly, blot with microfiber, then use a soft brush on grooves; avoid hard scrubbing painted or thermofoil surfaces.
- Match care to use: after heavy cooking, wipe stove side surfaces daily; clean fronts weekly, check hardware monthly, and inspect seams and finishes annually.
- Stable humidity limits wood movement; distribute heavy items across shelves and tighten loose hinges early to help prevent gaps, warped panels, and sagging doors.
Table of Contents
- Daily and Weekly Cabinet Care: Quick Routines That Stop Buildup
- Material- and Finish-Specific Cleaning: Wood, Painted, Laminate, Veneer
- Removing Grease and Tough Kitchen Stains Without Harming the Finish
- Protecting Cabinets From Moisture, Heat, Sunlight, and Hardware Wear
- Routine Maintenance Schedule and Supplies Checklist
- Expert Notes: Nathan's Practical Guidance on Standards-Based Maintenance
- How Often to Clean and a Basic Maintenance Schedule
- Tips for Preventing and Repairing Minor Scratches or Dents
- Guidance on Cabinet Refinishing and Touch-Ups When Finish Wears Off
- Best Practices for Maintaining Cabinet Structure to Avoid Warping or Sagging
- Seasonal Maintenance Tips to Protect Cabinets From Humidity and Temperature Changes
- Brand Perspective: Common Problems and the Simple Habits That Fix Them
- How Best Cabinet Specialist Helps You Maintain Less and Enjoy More
- FAQ
- Sources
Daily and Weekly Cabinet Care: Quick Routines That Stop Buildup
Most cabinet damage builds up slowly from skipped small tasks rather than one big accident. A few minutes a day keeps grease, moisture, and grime from turning into a weekend project.
Each morning or evening, wipe high-touch areas like handles and the cabinet near the stove with a dry or barely damp microfiber cloth. Spills near the sink or cooktop deserve immediate attention instead of waiting for cleaning day. Once a week, give cabinet fronts and hardware a proper wipe with a mild soap solution, and check for sticky spots that tend to collect close to the range.
- Daily: quick microfiber wipe of handles and high-touch panels, plus instant spot cleaning of any spill or splatter.
- Weekly: full wipe-down of fronts and hardware with a mild soap solution, checking corners near the stove for grease film.
- Keep on hand: a stack of microfiber cloths, a spray bottle for diluted cleaner you apply to the cloth rather than the cabinet, and a soft-bristled brush for grooves and hardware crevices.
This routine takes less time than most homeowners expect once it becomes a habit tied to something you already do, like loading the dishwasher or wiping counters. The payoff is a kitchen where deep cleaning becomes rare rather than routine.
Material- and Finish-Specific Cleaning: Wood, Painted, Laminate, Veneer
Not every cabinet surface responds to cleaning the same way, and using the wrong method on the wrong material is where most finish damage starts.
- Solid wood: Use a pH-neutral cleaner or a mild dish soap diluted in water, applied to the cloth rather than the wood. Wipe with the grain, and avoid letting moisture sit at seams, edges, or corners where it can seep in and cause swelling.
- Painted cabinets: Test any cleaner in an inconspicuous spot first, since painted finishes can be more sensitive to certain solutions. Clean gently, rinse with a barely damp cloth, and dry immediately; our guidance on protecting painted cabinets walks through rinsing and drying in more detail, and small chips can often be addressed with a paint touch-up kit afterward.
- Laminate and thermofoil: Clean with soap and water on a non-abrasive sponge. Keep heat sources away from seams, since thermofoil can lift or bubble when exposed to high temperatures over time.
- Veneer: Use minimal moisture and wipe with the grain. Dry quickly and avoid heavy scrubbing, which can wear through the thin veneer layer faster than you'd wear through solid wood.
Some homeowners reach for oil soap on wood cabinets, and when used correctly it can be a gentle option worth understanding before you try it; this overview of oil soap for wood surfaces explains how it works and where it fits.
Pro Tip: Keep a small, labeled swatch of leftover paint or stain from your cabinet order so you always have a matched touch-up reference on hand.
If you're choosing new cabinets and want a head start on easier upkeep, our breakdown of which materials resist water best is worth a look before you order.
Removing Grease and Tough Kitchen Stains Without Harming the Finish
Grease near the stove is the most common tough stain homeowners deal with, and the fix works best when you start gentle and escalate only if needed.
A warm solution of water and a grease-cutting dish soap, applied with a soft microfiber cloth, handles most greasy buildup when you let it sit for a minute before wiping. Practical cleaning guidance confirms this dish-soap approach as a reliable first step for greasy wood cabinets, provided you rinse thoroughly afterward so no soap film remains.
- Step one: apply the warm soap solution to a cloth, let it sit on the greasy spot briefly, then blot and lift rather than scrub.
- Step two: for stubborn residue, a soft-bristled brush can work into grooves, but avoid pressing hard on painted or thermofoil surfaces.
- Step three: a melamine eraser can lift tough marks on sealed, hard finishes, but test it first since it acts as a mild abrasive and can dull some paints.
- When to stop: if grease won't budge after a gentle attempt and a slightly stronger cleaner, stop before reaching for solvents and consider a touch-up or professional refinish instead.
The same cleaning research that recommends mild soap as the starting point also warns that stronger solvents and abrasive pads risk stripping the finish, so treat them as a last resort rather than a first move.
Protecting Cabinets From Moisture, Heat, Sunlight, and Hardware Wear
The biggest threats to cabinets rarely come from cleaning itself. They come from everyday conditions in the kitchen: humidity swings, heat exposure, sun fading, and hardware that loosens with use.
Indoor humidity that swings widely causes wood to shrink and swell, which is exactly what Purdue Extension research on wood movement describes as a leading cause of joint gaps and finish crazing over time. Keeping relative humidity in a moderate, stable range through ventilation or a dehumidifier reduces that stress on joints and finishes.
- Heat: never rest hot pans or trivets directly against cabinet faces, and consider backsplash protection near the stove.
- Sunlight: window treatments or occasional rotation of decorative items reduce uneven UV fading on cabinet fronts that face bright windows.
- Hardware: check hinges and knobs periodically for looseness, apply a light lubricant to hinges, and keep soft-close mechanisms free of debris so they continue closing smoothly.
Humidity swings are a documented driver of wood movement, and Purdue Extension's research ties that movement directly to the joint and finish problems homeowners notice years later.
Routine Maintenance Schedule and Supplies Checklist
A short, repeatable schedule beats sporadic deep cleaning for keeping cabinets in shape long term.
Supplies worth keeping stocked: microfiber cloths, mild dish soap, a pH-neutral wood cleaner, a soft brush, a small touch-up kit matched to your finish, and a light lubricant for hinges.
- Wipe spills immediately, no matter how small.
- Do a quick daily wipe of handles and high-touch panels.
- Clean cabinet fronts weekly with a mild soap solution.
- Check hinges and hardware monthly for looseness or sticking.
- Do a full inspection annually, looking closely at seams, corners, and finish wear.
Keeping a simple log of when you cleaned, tightened hardware, or touched up a scratch takes only a minute per entry, and it becomes useful if you ever file a warranty claim or list your home for sale, since buyers and appraisers notice well-maintained cabinetry.
Expert Notes: Nathan's Practical Guidance on Standards-Based Maintenance
Most cabinet failures we hear about trace back to one of two habits: spraying cleaner straight onto the cabinet instead of the cloth, or ignoring loose hinges until a door sags. Fixing both is simple once you know to watch for them.
The habit that prevents the most damage isn't a special product. It's applying cleaner to the cloth first, every time, so moisture never pools at a seam.
Industry testing frameworks like those from the Kitchen Cabinet Manufacturers Association and checklists from the National Kitchen and Bath Association exist precisely because finish durability depends on controlled conditions, not just a good topcoat. That same logic applies at home: controlling moisture and avoiding harsh chemicals does more for longevity than any single cleaning product. Purdue Extension's research on wood shrink-swell behavior backs this up, showing that humidity control is a root cause homeowners can actually manage.
Pro Tip: Set a recurring monthly reminder to check hinges and hardware. It takes two minutes and catches problems before doors start sagging.
How Often to Clean and a Basic Maintenance Schedule
Cleaning frequency should match how hard your kitchen works, not a fixed calendar. Cabinets near a stove used daily need more attention than cabinets in a lightly used kitchen.
For most households, a quick daily wipe of handles and high-touch spots paired with a weekly cleaning of all fronts covers the basics. Heavier cooking, especially frying or high-heat sautéing, means grease travels further and settles faster, so those kitchens benefit from daily wiping of surfaces near the stove rather than just handles.
Monthly, walk through and check hardware tension and look for any dulling or dirt buildup in corners that weekly wiping might miss. Once a year, do a slower inspection: open every door and drawer, check for sticking, examine finish wear near the sink and stove, and note anything that needs a touch-up before it spreads. This tiered approach, light and frequent at the top, thorough but rare at the bottom, keeps cabinets looking new far longer than occasional heavy scrubbing sessions ever will.

Tips for Preventing and Repairing Minor Scratches or Dents
Small scratches and dents are almost unavoidable over years of daily use, but most are easy to prevent and even easier to fix early.
Pot lids, utensils, and grocery bags account for a good share of surface scuffs, so adding felt pads to drawer interiors and being mindful when loading dishes near open doors prevents a lot of wear before it starts. Keep sharp or heavy items away from direct contact with cabinet faces whenever possible.
When a scratch does happen, address it quickly rather than letting it collect grease and grime that make repair harder later. For wood and painted finishes, a touch-up pen or small dab of matched paint or stain usually blends a minor mark well enough that it's barely noticeable, and our guide to nearly invisible touch-ups walks through the process step by step. Deeper dents in solid wood sometimes respond to a gentle steam treatment that raises the compressed grain, though this works best on raw or lightly finished wood rather than heavily lacquered surfaces. For laminate or thermofoil, dents are harder to lift, so prevention through careful loading matters more than repair.
Guidance on Cabinet Refinishing and Touch-Ups When Finish Wears Off
Finish wear around handles, under the sink, and near the stove is normal after years of use, and catching it early keeps a small fix from turning into a full refinish.
For light wear on painted cabinets, a matched touch-up pen or small sample of the original paint color usually restores the look of a chipped or worn spot in minutes. Our step-by-step touch-up guide covers blending technique so the repair doesn't stand out against the surrounding finish.
Wood cabinets with worn stain or topcoat sometimes need a light sanding and a fresh coat of matched finish on just the affected panel rather than the whole cabinet. This spot approach works well when wear is localized, like around a handle, but widespread dulling across many doors usually signals it's time for a full refinish rather than patchwork fixes.
Before committing to refinishing, it helps to understand what made the original finish durable in the first place. Our overview of evaluating finish durability explains what separates a finish that lasts from one that wears unevenly, which is useful whether you're touching up existing cabinets or planning a future replacement.
Best Practices for Maintaining Cabinet Structure to Avoid Warping or Sagging
Structural problems like warping and sagging develop slowly, almost always tied to moisture, weight, or hardware stress rather than age alone.
Keeping indoor humidity stable is the single biggest factor, since Purdue Extension's wood movement research shows that repeated swelling and shrinking from humidity swings is what eventually opens joints and warps panels. A dehumidifier in damp climates or a humidifier in very dry winters keeps wood cabinets closer to the stable moisture range they were built and finished for.
Heavy items stored unevenly in drawers or on shelves add stress that shows up as sagging over time, particularly in wider cabinets or pull-out shelves not rated for the load. Distributing weight evenly and avoiding overloading a single drawer or shelf protects both the box and the slides.
Loose hinges deserve attention before they become a structural issue rather than just an annoyance. A door that hangs slightly crooked puts uneven stress on the frame every time it closes, so tightening screws as soon as you notice play prevents that stress from spreading to the cabinet box itself. If screws no longer grip, a toothpick with a dab of wood glue in the hole before re-driving the screw usually restores a solid hold.

Seasonal Maintenance Tips to Protect Cabinets From Humidity and Temperature Changes
Cabinets face different stress depending on the season, so a few adjustments throughout the year go a long way toward preventing the shrink-swell cycle that damages joints and finishes.
In humid summer months, running a dehumidifier or keeping kitchen ventilation active while cooking helps prevent excess moisture from being absorbed into wood cabinets. Winter heating, on the other hand, often dries indoor air significantly, which can cause wood to shrink and joints to show small gaps; a humidifier during the driest months helps counter that.
Watch for condensation around dishwashers or sinks more closely in winter, when temperature differences between indoor air and cold surfaces increase moisture buildup. Spring and fall, when humidity is often more moderate, are good times for the annual deep inspection mentioned earlier, since cabinets are less likely to be under active moisture stress and small issues are easier to spot and fix before the next seasonal swing arrives.
Brand Perspective: Common Problems and the Simple Habits That Fix Them
The maintenance questions we hear most often trace back to two habits: spraying cleaner directly onto cabinet faces and letting loose hinges go unchecked for months. Both are easy fixes once you know to watch for them.
Cabinets built with plywood boxes and solid wood doors tend to need less corrective maintenance over time, since plywood resists some of the shrink-swell movement that causes gaps and misalignment in lighter materials. If you're weighing a cabinet upgrade and want options built with long-term upkeep in mind, our guide to common ordering mistakes is a useful starting point.
— Nathan
How Best Cabinet Specialist Helps You Maintain Less and Enjoy More

Cabinets built right from the start are simply easier to live with. Plywood box construction paired with solid wood doors and soft-close hardware can help resist warping, sagging, and hinge wear that drive many maintenance headaches, so your cleaning routine can stay simple instead of turning into repair work.
If you're planning a kitchen or bathroom update and want cabinetry that holds up with basic care, browse our RTA Cabinets or Assembled Cabinets to compare construction and finish options. Not sure which finish fits your kitchen and cleaning routine best? Order from our Sample Doors page to see and feel the materials before you commit to a full project.
For hardware questions specific to your setup, this practical resource on hardware placement pairs well with our cabinet lines if you're planning hinges and pulls as part of a fuller remodel.
FAQ
What are some tips for cleaning kitchen cabinets?
Apply mild dish soap or a pH-neutral cleaner to a microfiber cloth rather than spraying it directly on the cabinet, then wipe, rinse, and dry thoroughly. Avoid vinegar, baking soda, and abrasive scouring pads, since these can dull or strip many finishes.
What is the best material to use for kitchen cabinets?
Plywood box construction paired with solid wood doors tends to resist warping and moisture movement better than some all-solid-wood or particleboard builds, especially with proper finishing. The right choice ultimately depends on your climate, budget, and how the cabinets will be used, so comparing RTA Cabinets and Assembled Cabinets side by side helps clarify what fits your kitchen.
How do I protect cabinets after painting?
Let the paint cure fully before heavy cleaning, then stick to gentle, pH-neutral cleaners applied to a cloth and rinsed off promptly. Our guide to protecting painted cabinets covers curing time and safe products in more detail.
How can I make my cabinets look better?
Start with a thorough clean using warm water and grease-cutting dish soap to remove grime that dulls the finish, then address any visible scratches or chips with a matched touch-up kit. Tightening loose hardware and polishing handles also makes a noticeable difference without any major project.
Sources
- How to clean kitchen cabinets to remove tough messes
- The shrinking and swelling of wood and its effect on furniture