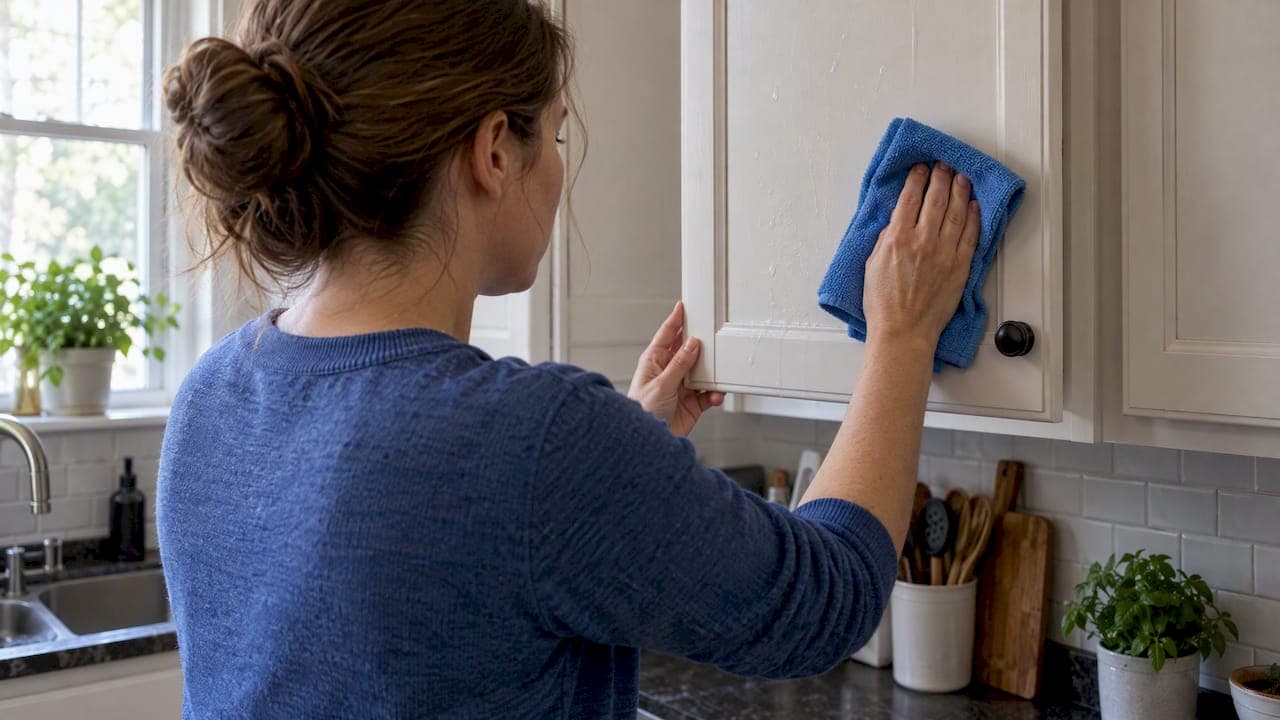
The fastest safe way to clean painted cabinets is a damp microfiber cloth wrung out with a mild dish soap solution, followed by a clean water rinse and an immediate dry, as detailed in our guide on the best thing to clean interior doors with. Always test any cleaner in a hidden spot first. Stubborn grease responds to a baking soda paste or diluted vinegar, while heavy yellowing from paint aging rather than grime usually calls for refinishing instead of more scrubbing.
TL;DR:
- Using a damp microfiber cloth with mild dish soap and rinsing thoroughly prevents dulling and damage from buildup on painted cabinets.
- Regularly replacing cloths used for cleaning and avoiding abrasive tools like steel wool preserves the cabinet finish over time.
- Heavy grease or stains near the stove require targeted solutions such as diluted vinegar or a baking soda paste, not standard cleaning.
- Never use bleach, ammonia, or harsh abrasives, as they can strip or scratch the paint, leading to permanent damage.
- Repainting requires a thorough degreasing process using TSP or substitutes, followed by proper drying before sanding or priming.
Table of Contents
- Supplies and safe cleaners to have on hand
- Step-by-step routine for weekly spot cleaning and seasonal deep cleans
- Tackling grease, stubborn stains, adhesive residue, and yellowing
- What to avoid: cleaners and habits that damage painted finishes
- When you're repainting: degreasing and TSP steps
- Pro tips and a simple maintenance schedule
- Choose gentle, consistent care over aggressive fixes
- Give your cabinets a fresh start with the right materials
- FAQ
- Sources
Supplies and safe cleaners to have on hand
A simple setup protects your finish better than any specialty product. Mix a small amount of mild, pH-neutral dish soap with warm water for everyday cleaning. This ratio lifts grime without stripping the paint's sheen. Keep diluted white vinegar on hand for grease, since it works as a mild degreaser when properly diluted and rinsed off afterward, and keep a baking soda paste ready for dried-on spots. Wear gloves when working with vinegar or stronger solutions.
- Dedicated microfiber cloths (never ones used for greasy dishes or counters)
- A soft sponge and a soft-bristle toothbrush for grooves and hardware
- A spray bottle, a bucket, and a separate microfiber towel for drying
Step-by-step routine for weekly spot cleaning and seasonal deep cleans
Start every cleaning session dry, wiping down dust and loose debris before any liquid touches the surface. Work from the top of the cabinets down so drips land on areas you haven't cleaned yet.
- Dust first with a dry microfiber cloth, working top to bottom.
- Dip a cloth in the dish soap solution and wring it out until it's damp, not dripping.
- Wipe each panel gently, following the grain or paint direction.
- Rinse with a second cloth dampened in plain water to lift any soap film.
- Dry immediately with a clean towel before moving to the next section.
That weekly routine keeps grime from building into something tougher to remove. Every few months, step up cleaning by clearing shelves if needed and using a stronger soap mix or diluted vinegar on greasy zones near the stove, taking care to avoid leaving surfaces wet for long. Rinsing matters more than most homeowners realize. Leftover soap or vinegar residue creates a hazy film that actually attracts more dirt over time, and industry sources note this rinse step is the one most often skipped despite being the most important part of the process. Drying immediately afterward prevents moisture from seeping into seams, which is a common cause of swelling, cracking, or peeling paint.
Pro Tip: Keep two cloths in rotation during deep cleans, one for soap and one for rinsing, so you're never spreading residue back onto a panel you just wiped clean.

Tackling grease, stubborn stains, adhesive residue, and yellowing
Grease near the stove needs a slightly stronger touch than your weekly wipe. A 1:1 vinegar-to-water mix applied to a cloth, rather than sprayed directly on the cabinet, cuts through buildup without soaking the paint. For dried-on food or splatters, soak a cloth in warm soapy water, lay it over the spot for a minute or two, then wipe gently and repeat if needed.
- Grease: diluted vinegar on a cloth, wiped and rinsed, not sprayed directly
- Dried spills: warm soapy soak, gentle wipe, repeat as needed
- Adhesive residue: light heat or a small amount of rubbing alcohol, then rinse and dry
- Baking soda paste: apply sparingly to stubborn spots and test in a hidden area first
Mild, pH-neutral dish soap diluted in warm water remains the safest everyday cleaner for painted cabinets, with grease and dried residue needing the targeted treatments above rather than a stronger everyday mix.
Yellowing is trickier to diagnose. Yellowing can stem from grease and smoke buildup or from the paint itself aging, and cleaning only helps with the first cause. When a thorough clean doesn't restore the original color, the coating has likely discolored at a chemical level, and refinishing becomes the realistic fix.
What to avoid: cleaners and habits that damage painted finishes
Some products that work fine on tile or countertops will quietly ruin a painted cabinet. Bleach, ammonia, strong solvents, and powdered scouring cleansers strip or dull paint, and steel wool scratches it outright.
- Skip bleach, ammonia, and strong solvents entirely on painted surfaces
- Avoid powdered cleansers and steel wool, which scratch and dull sheen
- Use Magic Erasers only with a light touch, since the melamine foam is mildly abrasive and can wear through finish if scrubbed hard
- Never let cabinets air dry after rinsing, since trapped moisture leads to swelling and peeling
Tool hygiene matters just as much as product choice. A cloth that previously wiped a greasy pan or an abrasive pad used on a stuck-on stain will transfer oils and micro-scratches the next time you use it on a cabinet door, so keep your cabinet cloths separate from everything else in the kitchen.
When you're repainting: degreasing and TSP steps
Routine cleaning won't prepare a surface for new paint. Before repainting, TSP or a TSP substitute is the standard degreaser professionals use to strip oils and give primer something to grip.
- Follow the label's mix ratio exactly, and wear gloves and eye protection
- Work in a ventilated space, since TSP and its substitutes are strong cleaners
- Wipe and rinse multiple times, checking that the surface no longer feels slick before moving on
- Let cabinets dry for 24 or more hours before sanding or priming
Leftover residue is the main reason primer fails to stick, so don't rush the rinse step even if the surface looks clean.
Pro tips and a simple maintenance schedule
A steady cadence beats occasional deep scrubbing every time. Spot-clean daily around handles and edges, give cabinets a quick wipe weekly, target grease near the stove monthly, and schedule a full deep clean every 3 to 6 months.
- Rotate microfiber cloths and keep a set reserved only for cabinets
- Clean range hood filters regularly to cut down on grease landing on nearby doors
- Check our cabinet finish types guide for cleaner recommendations matched to gloss, semi-gloss, or matte paint
Pro Tip: Light-colored cabinets show grease and dust faster, so if you went with a bright white or pale finish, check our kitchen cabinet color trends guide for insight on how visibility factors into your cleaning schedule.
Choose gentle, consistent care over aggressive fixes
Painted cabinets hold up best under light, frequent care rather than occasional heavy scrubbing meant to undo months of neglect. A soft cloth and diluted soap, used weekly, protect the finish far better than a harsh cleaner reached for once things look bad. Some problems, like true paint aging or chemical yellowing, won't respond to any cleaning method, and that's the point where refinishing makes more sense than another round of scrubbing. Test first, rinse well, and dry immediately. Those three habits do more for your cabinets than any product on the shelf.
— Nathan
Give your cabinets a fresh start with the right materials
Sometimes the most practical fix isn't another cleaning session, it's replacing cabinets that have worn past the point of refinishing. We build our RTA Cabinets and Shaker Series doors with plywood boxes and solid wood fronts, so they hold up to regular cleaning without the finish wearing thin the way some lower-grade cabinets do over time. This business focuses on fast shipping and solid craftsmanship so your project doesn't stall waiting on materials. If your current cabinets show yellowing, peeling, or damage that cleaning can't reverse, browse our assembled cabinets or explore the full lineup at Best Cabinet Specialist to find a style ready to ship for your kitchen.
FAQ
Is Murphy's Oil Soap good for painted cabinets?
Murphy's Oil Soap is generally usable on cured painted wood when diluted according to the label, often around a quarter cup per gallon of water, but it's worth testing in a hidden spot first. Some homeowners find it can leave a residue that affects paint adhesion if you plan to repaint later.
What should you not use to clean cabinets?
Avoid bleach, ammonia, strong solvents, powdered scouring cleansers, and steel wool on painted cabinets, since all of them strip or scratch the finish. Over-wetting and air-drying also cause problems by trapping moisture that leads to swelling or peeling paint.
Is Magic Eraser safe on painted cabinets?
Magic Erasers use a mildly abrasive melamine foam, so they can dull or remove paint if scrubbed aggressively. Use one sparingly, with a light touch, and test it in an inconspicuous spot before treating a visible panel.
What is the best cleaner for painted wood?
A mild, pH-neutral dish soap diluted in warm water, about 1 teaspoon per 2 cups of water, is the safest everyday option for painted wood cabinets. For grease, a diluted vinegar solution works well, but it should always be rinsed off to avoid dulling the paint over time.
Sources
- How to clean painted cabinets the safe, effective way — 360 Painting
- How to degrease painted kitchen cabinets — The Spruce
- Is Murphy’s Oil Soap good for painted cabinets? — OurHomemadeEasy