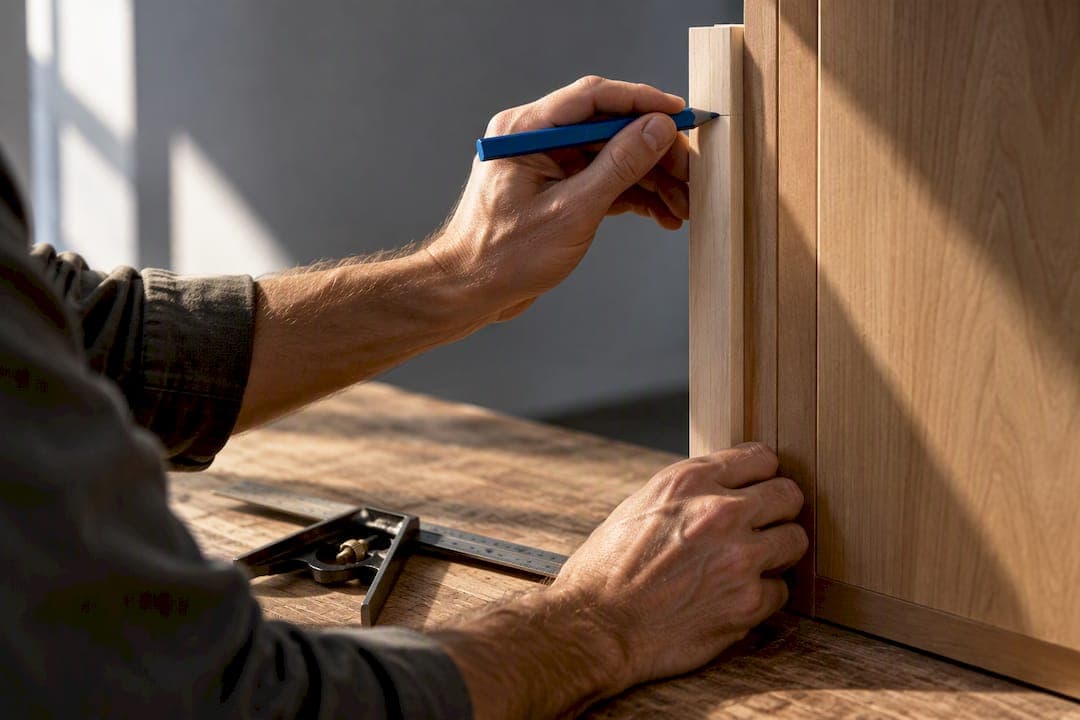
Most kitchens need a mix of 3" fillers next to drawer banks and 1.5" to 2" fillers next to door-only cabinets, with 5" to 6" reserved for refrigerator or dishwasher sides. The real rule is simpler than any chart: pick the width that gives doors, drawers, and handles room to clear the wall, not whatever size looks closest to a catalog photo. Measure your wall run and the opening next to it before you order anything.
TL;DR:
- Fillers next to drawers typically start at 3 inches wide, while those beside door-only cabinets are usually 1.5 to 2 inches, and large gaps near appliances may require 5 to 6 inches.
- Always measure the total wall length, subtract cabinet and appliance widths, and split the remaining space across fillers based on irregularities, never planning for slivers under 1 inch.
- Confirm cabinet dimensions with the supplier before ordering fillers, and choose between stock blanks, custom widths, or field ripping to match wall irregularities accurately.
- On-site, level cabinets first, then scribe and trim fillers to wall irregularities before fastening with screws or adhesive, ensuring a flush and precise fit.
- Using proper clearance, like 1 inch for doors with protruding handles or more for appliances, prevents binding and ensures smooth operation of doors and drawers.
Table of Contents
- What Are the Standard Cabinet Filler Sizes?
- How Do You Calculate Filler Width for a Wall Run?
- What Clearance Do Doors, Drawers, and Handles Need?
- Should You Order Stock Blanks or Cut Fillers On Site?
- How Do You Install and Scribe Fillers On Site?
- Filler Sizing Checklist and Reference Table
- Common Filler Problems and How to Avoid Them
- A Publisher's Note on Getting Filler Sizing Right the First Time
- Get Cabinets and Filler Sizing Help From Best Cabinet Specialist
- Sources
- FAQ
What Are the Standard Cabinet Filler Sizes?
Most cabinet manufacturers stock filler blanks in two widths: 3" and 6". A handful of vendors also carry a narrower 2" base filler for tight runs. These aren't finished, exact-fit pieces. They're oversized blanks meant to be trimmed to final size on site, which is why so many kitchens end up with fillers that look custom even though they started as generic stock.
Which width you start with depends on what sits next to it.
- Fillers around 3 inches wide often work as the default starter next to cabinets with drawers.
- Narrower fillers, close to 1.5 to 2 inches wide, suit door-only cabinets or tight corners.
- Larger fillers, approximately 5 to 6 inches wide, are typically used next to refrigerators, dishwashers, or areas needing extra clearance for handles or door swings.
- Fluted, flat, or inside-corner profiles change the look but not the sizing logic. Pick the profile after you've settled the width.
Confirm height and depth too. A base filler, wall filler, and tall filler aren't interchangeable even at the same width, since each is milled to match a different cabinet plane. Ordering the wrong height wastes the trim allowance you need for scribing.
How Do You Calculate Filler Width for a Wall Run?

Cabinet sizing runs on what installers call elevation math: measure the full wall length, subtract every cabinet module and appliance width planned for that run, and whatever remains is what you have to distribute across fillers. This calculation method catches spacing errors before you cut a single board.
Here's how it plays out on a real wall:
- Measure the wall run: say it comes to 121 inches.
- Add up your cabinet modules and appliance widths: three 18" cabinets, one 36" range, and one 24" cabinet totals 114 inches.
- Subtract: 121 minus 114 leaves 7 inches to split between fillers.
- Decide how to split it. If one wall is straight and the other is slightly bowed, don't split evenly. Give the worse wall the wider filler, maybe 4 inches there and 3 inches on the straight side, so the scribe cut absorbs the irregularity.
- Never plan a sliver under 1 inch at a wall end. It looks unfinished and gives you almost no room to scribe if the wall isn't plumb.
Order your blanks oversized and hold the material until cabinets are set and leveled. Final trimming happens after installation, not before, because wall conditions rarely match the plan on paper. If your measurements feel off before you even get here, revisit your kitchen measuring process first.
What Clearance Do Doors, Drawers, and Handles Need?
There's no universal correct filler width. The right size depends on door swing, drawer travel, handle projection, and appliance specs at that exact spot in your kitchen. Start with clearance, not a catalog number.
- Full-overlay doors with projecting handles generally need about 1 inch of clearance at a wall end to swing without striking the wall or trim.
- Tight framed-style cabinets can get away with a bare minimum of half an inch, but that leaves zero margin for error.
- Long bar pulls and edge pulls stick out farther than knobs, so they push your minimum clearance number up, sometimes significantly depending on the pull's projection.
- Refrigerators and dishwashers need extra room on the hinge side, and it's smart to allow a bit more than the door needs today in case you swap appliances later.
Pro Tip: Before cutting any filler, tape a strip of cardboard to the wall at the width you're considering, then swing the actual door or drawer against it. It takes five minutes and catches clearance problems that a tape measure alone will miss.
Choosing appliances before finalizing cabinet layout also avoids a lot of this guesswork, since appliance dimensions drive filler needs more than any other single factor.
Should You Order Stock Blanks or Cut Fillers On Site?
You've got three real options: order 3" or 6" stock blanks and trim them yourself, order a custom finished width from the manufacturer, or rip full sheet stock in your own shop.
- Stock blanks are cheap and ship fast, but you're responsible for the final rip cut and any edge finishing.
- Custom finished-width fillers cost more and take longer to arrive, but they show up ready to install with matching edge banding already applied.
- Field ripping gives you total control over irregular walls, but you'll need a table saw, an edge-banding iron or clamp-on trim, and a finish that matches your door style.
Before ordering anything, confirm whether the listed dimension is the finished width or the oversized blank width. Vendors don't always label this clearly, and assuming wrong means you either lose your scribe allowance or order a piece too narrow to trim safely. Also confirm base filler versus tall filler height, since manufacturers cut these to different plane heights even when the width matches.
How Do You Install and Scribe Fillers On Site?
Installation order matters more than most first-time remodelers expect.
- Set and level the full cabinet run first, checking both the face frames and the tops for plumb.
- Secure the cabinets to studs before touching the fillers.
- Hold oversized filler blanks against the gap, mark the actual cut line, and scribe to match any wall irregularity rather than cutting to your original plan measurement.
- Fasten the trimmed filler with screws driven from behind, either into the adjacent cabinet's face frame or a mounting rail, keeping the front face clean.
- Finish the seam with caulk for a flush look or leave a small reveal if that matches your cabinet style, then touch up paint or veneer edges as needed.
Construction adhesive works as a backup fastening method on fillers too narrow to screw through safely.
Pro Tip: When a wall runs noticeably out of square, always scribe the wider filler to the worse wall and write down which side got the extra width. If a cabinet ever needs to come off for repair, that note saves you from re-measuring the whole run. This matches standard trade advice to scribe oversized blanks on site rather than trust wall measurements taken before demo.

Filler Sizing Checklist and Reference Table
Run through this before you place an order: measure total wall length, measure every cabinet module and appliance going into that run, record hardware projection on adjacent doors and drawers, calculate the remainder, pick the closest stock blank, and hold that material until you've dry-fit the run after leveling.
| Situation | Recommended Starter Width |
|---|---|
| Doors only, no drawers nearby | 1.5" |
| Drawer bank on one or both sides | 3" |
| Appliance side (fridge or dishwasher) | 5" to 6" |
| Wall-end, safe minimum | 1" |
| Wall-end, absolute bare minimum (tight framed cabinets) | half an inch |
Catalog blanks commonly ship in 3" and 6" increments regardless of your final target, so plan to trim.
Common Filler Problems and How to Avoid Them
The most common filler mistake is ordering the width before measuring the actual gap. Cabinets get delivered, the run doesn't match the plan by half an inch, and now the filler either doesn't cover the gap or has to be ripped down further than the scribe allowance permits. Always treat filler width as the last measurement finalized, not the first one ordered.
A second recurring issue: matching wood species and finish. A filler cut from mismatched stock stands out under kitchen lighting even when the width is perfect. If your cabinets have solid wood doors, order fillers from the same run or grain lot when possible, and confirm the supplier edge-bands to match rather than leaving a raw plywood edge exposed.

Third, installers frequently underestimate hinge swing on heavy overlay doors, especially soft-close hinges that need a touch more clearance to avoid binding against an adjacent filler. And fourth, tiny slivers under an inch look unfinished and often crack or warp faster than a properly sized piece, since there's not enough material to hold fasteners securely.
Document your final filler widths and which wall got the wider piece. Future repairs, a swapped appliance, or a matching addition down the road go faster when someone can see the original decision instead of re-measuring a wall that's already covered in cabinetry.
A Publisher's Note on Getting Filler Sizing Right the First Time
Many cabinet product teams see the same filler questions come up on nearly every project, whether it's a full kitchen or a single run replacement. RTA and assembled cabinet lines built with plywood boxes and solid wood doors give installers a predictable starting dimension, which matters because filler math only works when the cabinet modules themselves are accurate.
Confirming exact dimensions with your supplier before cutting any filler removes one of the biggest sources of on-site rework. A project-ready box that matches its listed spec means your elevation math holds up in the field, not just on paper.
— Nathan
Get Cabinets and Filler Sizing Help From Best Cabinet Specialist
Getting filler width right starts with cabinets that measure consistently with spec sheets, so your elevation math holds up once the boxes actually arrive instead of falling apart on install day.

If you're planning a full run, browse the RTA cabinet lineup for project-ready boxes you assemble on site, or check the assembled cabinet options if you'd rather skip assembly entirely. Either way, fast shipping means you're not waiting weeks to finalize filler measurements against real cabinets.
- RTA cabinets for DIY assembly and faster turnaround
- Assembled cabinets for a ready-to-install box
- Kitchen and bathroom cabinet lines to browse full product details and get dimension questions answered
Reach out through the site if you have questions about matching filler dimensions to a specific cabinet series before you order.
Sources
- How to calculate cabinet filler sizes — Cutlistor
- Kitchen cabinet filler strips: sizes, placement and installation guide — Allure Kitchen Cabinet
- Choosing the right filler size for your kitchen cabinet — ShunShelter
FAQ
What Is the 1/3 Rule for Cabinet Hardware?
The 1/3 rule is a proportion guideline suggesting pull length should scale with drawer or door width, keeping hardware visually balanced rather than oversized or undersized. Many designers treat a 128mm (about 5 inch) center-to-center pull as a safe default for standard drawers, though the exact ratio varies by cabinet width.
How Do You Fill a Gap Between Two Cabinets?
Measure the actual gap after the cabinets are set and leveled, then cut an oversized filler blank down to that measurement rather than trusting the original plan dimension. Scribe the edge to match any wall irregularity, fasten it from behind with screws or adhesive, and finish the seam with caulk or a matching trim reveal.
What Are the Standard Widths of DIY Kitchen Filler Panels?
Catalog filler blanks most commonly come in 3 inch and 6 inch widths, with some suppliers also offering a narrower 2 inch base filler. These are trimmed down on site to the exact width your wall run and clearance calculations require.
What Is a Good Gap Filler Size for Kitchen Cabinets?
A good starting point is about 1.5 inches for door-only cabinets, 3 inches next to drawer banks, and 5 to 6 inches beside refrigerators or dishwashers that need extra door swing room. The final number always depends on measured clearance, not a fixed standard.
Can Best Cabinet Specialist Help Me Figure Out Filler Sizing?
Some cabinet providers sell project-ready RTA and assembled cabinets with confirmed dimensions, which can make filler calculations more reliable once the boxes are installed. Reach out to suppliers with your specific cabinet series and layout questions for guidance on matching fillers to your run.