
Cabinet crown molding is the decorative trim that bridges the top of your upper cabinets and the ceiling, giving your kitchen a finished, built-in look. The core decision is straightforward: choose a profile width proportional to your ceiling height and cabinet style, pick a material that matches your finish type and moisture exposure, and plan a solid mounting method before you buy a single piece.
Three fast starting points for common kitchen setups:
- 8-foot ceilings, painted cabinets: A 2.5–3.5-inch MDF cove or simple ogee profile, cabinet-mounted to a nailer strip.
- 9-foot ceilings, painted or stained cabinets: A 3.5–4.5-inch solid wood or MDF ogee or bead-and-reveal profile with a frieze filler above.
- 10-foot-plus ceilings, traditional kitchens: A stacked or built-up assembly, 5 inches or wider, in solid wood or polyurethane for moisture-prone areas.
Table of Contents
- What cabinet crown molding profiles are available, and what are their dimensions?
- Which material should you choose for cabinet crown molding?
- How do you measure and choose the right crown molding size?
- How do you attach crown molding to kitchen cabinets?
- How do you finish crown molding and keep it looking good?
- What are the best alternatives to traditional crown molding?
- Key Takeaways
- The detail that most guides get wrong
- Ready to order cabinets and matching trim from Best Cabinet Specialist?
- Useful sources and spec references
What cabinet crown molding profiles are available, and what are their dimensions?
Crown molding for kitchen cabinets falls into a handful of profile families, each with a distinct visual weight and a typical size range. Matching the profile to your cabinet style is as important as getting the dimensions right. Designers recommend ornate profiles such as dentil and egg-and-dart for traditional kitchens and sleek minimalist trims for modern frameless cabinetry.
Crown molding profiles are generally grouped by style and size, each well-suited for different cabinet aesthetics. Simpler profiles suit smaller or modern cabinets, while larger and more ornate profiles complement traditional and formal styles. Intricate details tend to show clearly only on wider profiles.
Cabinet-mount vs. ceiling-mount: Most kitchen crown molding is cabinet-mounted, meaning it attaches to a nailer strip built on top of the cabinet box and does not touch the ceiling. This approach works well when there is a gap between the cabinet top and ceiling, which is the standard situation in most American kitchens. Ceiling-mount crown spans from cabinet to ceiling and is typically reserved for cabinets that run all the way to the ceiling line or for frieze-board assemblies on taller walls. Simple cove, craftsman, and bead-and-reveal profiles are the most common choices for cabinet-mounted runs because their relatively shallow depth makes nailing angles manageable.
Which material should you choose for cabinet crown molding?
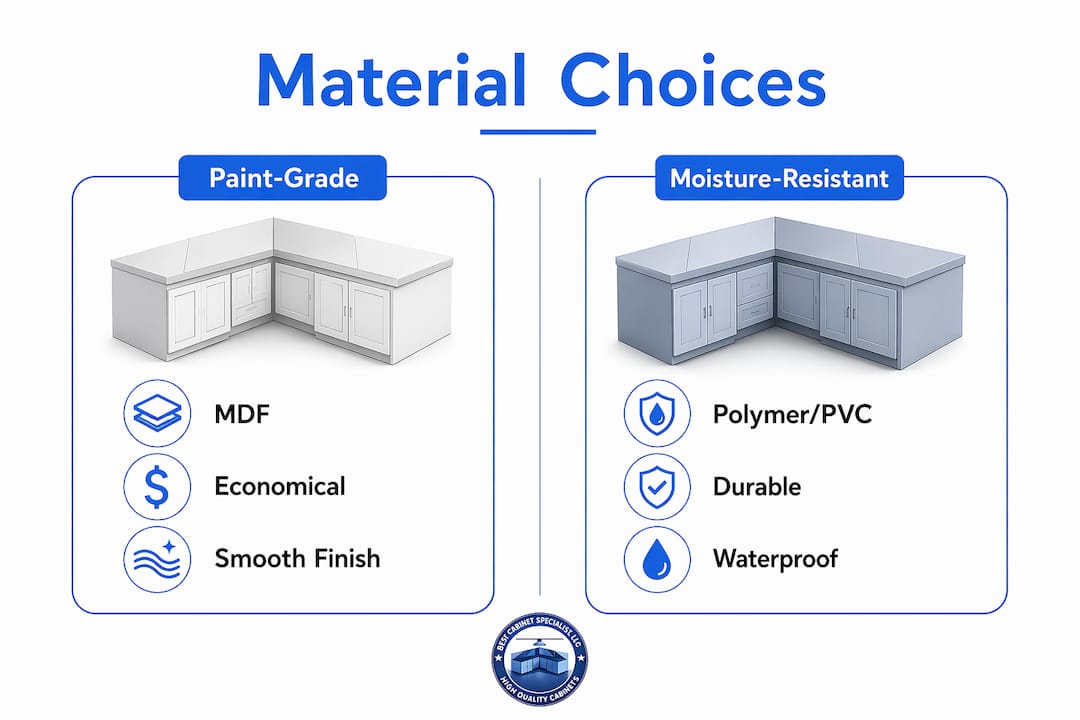
Material choice directly affects longevity, finish quality, and moisture resistance, so it is worth getting right before you order. The three main options are MDF, solid hardwood, and polymer (polyurethane or PVC).
MDF for paint-grade work
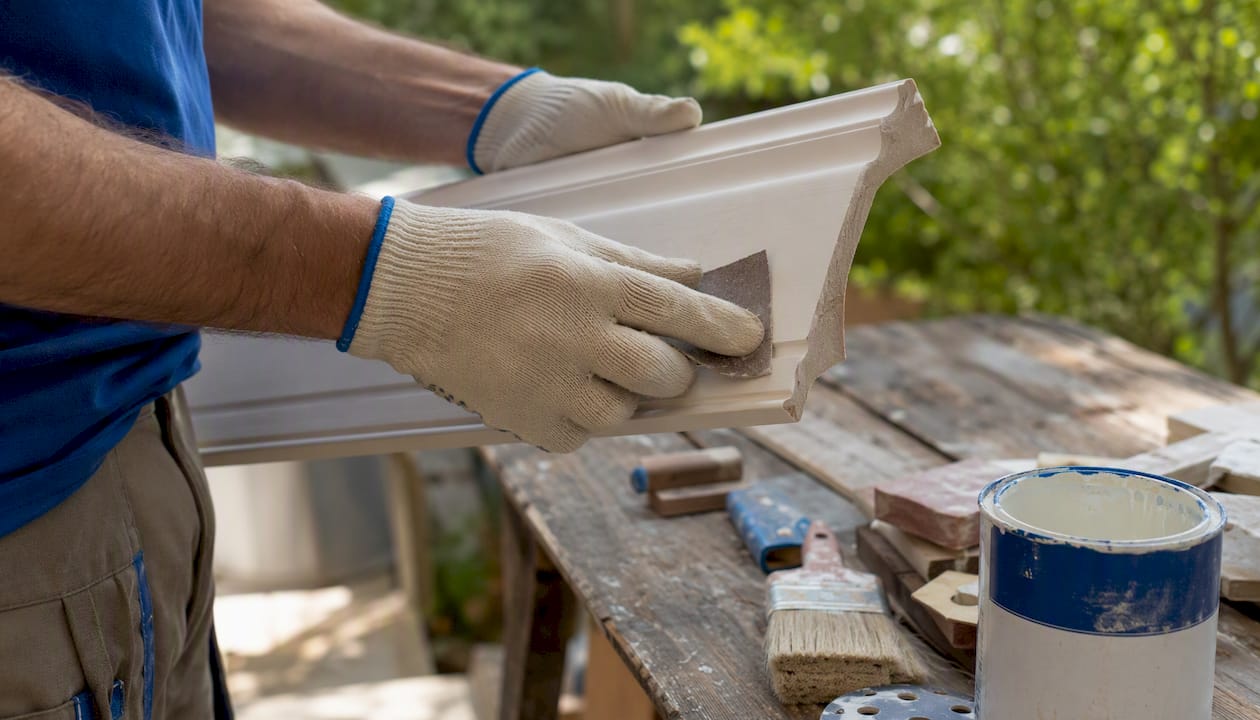
MDF is the most popular choice for painted kitchens. It machines cleanly, holds a crisp profile edge, and costs less per linear foot than solid wood. The trade-off is moisture sensitivity: MDF swells when it absorbs water, so any exposed end grain or unsealed back face in a steam-heavy kitchen will eventually show problems. Pre-seal all cut ends with shellac-based primer before installation, and caulk every joint and back edge after mounting. For most painted cabinet projects, MDF is the practical, cost-effective answer, as long as you treat it as a paint-grade material and never leave it unprimed. You can read more about how MDF compares to plywood in a kitchen context in this MDF vs plywood guide.
Solid hardwood for stain-grade projects
When you want to stain the crown to match solid wood cabinet doors, there is no substitute for real hardwood. Oak, maple, and cherry are the most common species. Oak's open grain takes stain predictably and matches a wide range of cabinet finishes. Maple is harder and more uniform, making it a good choice for lighter, more consistent stain tones. Cherry darkens naturally over time, which can be a feature or a drawback depending on your finish goals. The one installation consideration with solid wood is seasonal movement: wood expands and contracts with humidity, so joints need to be coped rather than mitered at inside corners to stay tight year-round. Pair your crown species with your solid wood cabinet doors for the most cohesive result.
Polymer and PVC for moisture-prone kitchens
Polyurethane and PVC moldings are the right call near a range hood, above a dishwasher, or in any kitchen where steam is a regular presence. They will not swell, rot, or delaminate, and they accept paint well. The limitation is staining: polymer profiles do not absorb stain the way wood does, so they are a paint-only material. They are also lighter than wood, which makes overhead installation easier for a solo DIYer.
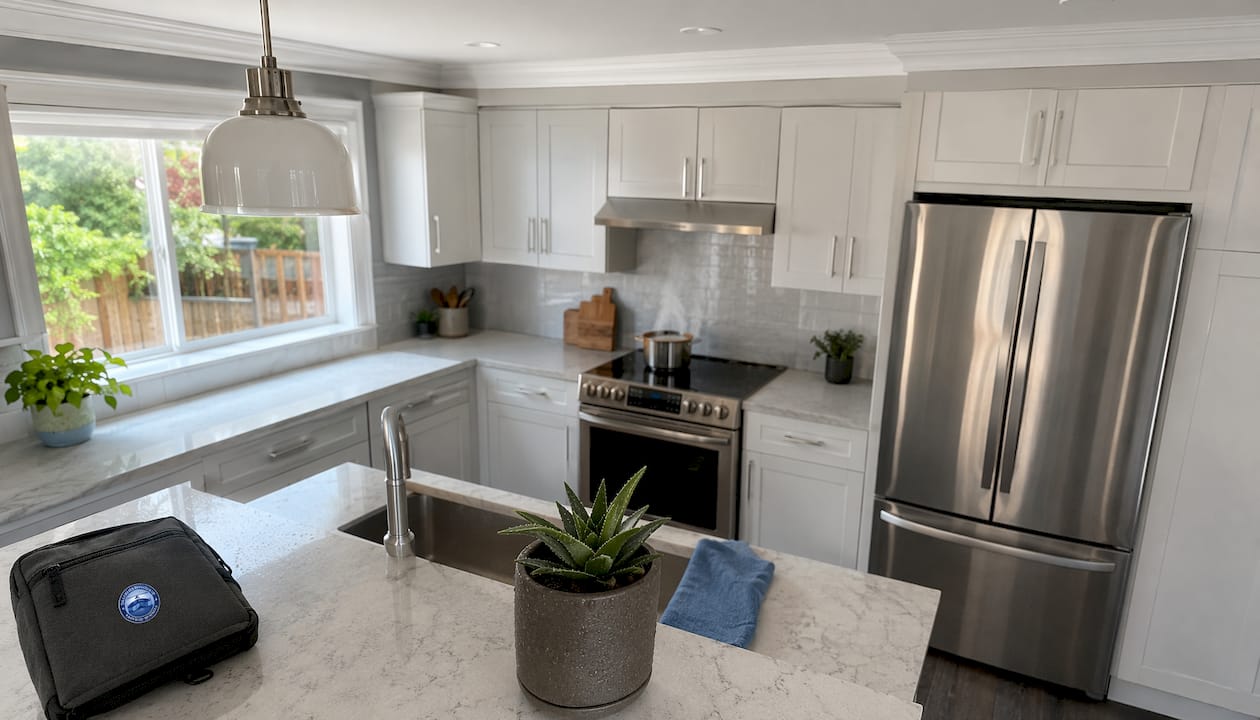
Pro Tip: In kitchens with a steam-heavy cooking zone, use polymer crown directly above the range run and MDF or solid wood on the remaining cabinet runs. The visual difference is undetectable once painted, and you get the moisture protection where it matters most.
How do you measure and choose the right crown molding size?
Getting the proportion right is the single decision that separates a crown that looks designed from one that looks like an afterthought. The core rule: profile width should be roughly proportional to both cabinet height and ceiling height, with taller ceilings and taller cabinets supporting wider profiles.
Choosing the right profile width depends on proportionality to your ceiling and cabinet sizes. Generally, smaller ceilings and cabinets pair with narrower profiles, while higher ceilings and taller cabinets support wider molding. Adjust the size based on how the molding visually fits your space.
Professionals use a gauge block cut from a scrap of the actual molding to mark the top and bottom edges on both the cabinet and the ceiling before cutting any pieces. This in-situ method catches the "math drift" that happens when you rely only on tape measurements across a run of cabinets that are not perfectly level or plumb.
Crown molding also bridges inconsistencies in older homes where ceilings are wavy or uneven, which is one practical reason to size up slightly if your ceiling has visible variation. A wider profile gives you more scribing room.
For a rough cost and time reference: paint-grade MDF crown typically runs $1–$3 per linear foot for material, solid wood $3–$7, and polymer $2–$5. A motivated DIYer can complete a standard kitchen run of about 30 linear feet in a single day, with a basic install taking roughly 3 hours for a straightforward layout using scrap-wood backing, miter cuts, brad nails, and caulk.
How do you attach crown molding to kitchen cabinets?
The two mounting strategies are cabinet-mount (crown attaches to a nailer built on top of the cabinet) and ceiling-mount (crown spans from cabinet to ceiling, often with a frieze board). Cabinet-mount is the standard approach for most American kitchens.
Building a nailer strip
Nailing crown directly into a thin face frame gives you only about 3/4 inch of material to fasten into, which is not enough to hold the crown securely over time. The better method is to attach a continuous nailer block or short glued-in blocks to the top of the cabinet box, creating a solid backing that matches the spring angle of your crown. This prevents sag and keeps miter joints from opening with seasonal movement. A 2x2 or 2x3 ripped to the correct angle works well for most profiles.
Pro Tip: Build your nailer block before you measure for crown. The nailer changes the effective mounting height, and measuring over the nailer gives you the exact profile position rather than an approximation.
Essential tools
A compound miter saw, coping saw, brad nailer (15- or 16-gauge), clamps, a caulk gun, and a pry bar for adjustments. For wider profiles (4 inches and up), a compound miter saw is not optional — the angles are too precise for a standard miter box.
Installation sequence
- Build and attach the nailer strip to the cabinet tops.
- Mark top and bottom crown edges on the ceiling and cabinet using a gauge block cut from scrap molding.
- Cut and dry-fit all pieces before applying any adhesive, starting with the most visible run.
- For inside corners, cope one piece to fit the profile of the other rather than mitering both. Coped joints tolerate out-of-square corners and seasonal movement far better than two mitered cuts.
- For wider profiles, cut crown lying flat on the saw bed using compound miter angles. For narrower profiles, nest the crown upside-down against the fence and bed to simulate the installed position.
- Glue and nail each piece, driving brads into the nailer strip and the cabinet face frame.
- Fill nail holes with wood filler, caulk all joints and the back edge against the cabinet, and sand smooth before priming.
You can also reference this kitchen cabinet installation guide for context on how cabinet stability affects crown mounting.
How do you finish crown molding and keep it looking good?
Finishing is where most DIY crown projects either succeed or fall apart. The material you chose determines your finishing path.
Finishing by material:
- MDF: Always prime before painting. Use a shellac-based primer on cut ends and a water-based primer on faces. Two coats of paint with light sanding between coats produces a smooth, factory-like result. Never skip priming on MDF.
- Solid wood: Sand to 150 grit, apply a pre-stain conditioner if using maple or cherry (both are prone to blotching), then stain and seal with a polyurethane topcoat. Match the sheen to your cabinet doors.
- Polymer: Wipe clean with a damp cloth, apply a bonding primer, then paint. Polymer holds paint well once primed.
Hiding joints and gaps: Use paintable latex caulk for the joint between crown and ceiling and between crown and cabinet. For larger ceiling gaps in older homes, use a flexible caulk and tool it smooth before it skins over. Wood filler works for nail holes in wood and MDF; avoid it on polymer, where a two-part epoxy filler bonds better.
Pro Tip: For kitchens, choose a semi-gloss or satin paint sheen on crown molding rather than flat. Grease and steam residue wipes off semi-gloss cleanly; flat paint absorbs it and shows touch-up patches.
Maintenance by material: MDF crown needs the most attention. Keep it away from standing water and wipe steam condensation promptly. Polymer crown is the easiest to maintain: a damp cloth handles most kitchen grime. Stain-grade solid wood benefits from a light coat of paste wax or furniture oil every year or two to keep the topcoat from drying out.
What are the best alternatives to traditional crown molding?
Not every kitchen needs an ornate crown profile. Several alternatives deliver a finished look with less complexity, lower cost, or a better fit for modern cabinet styles.
Frieze board with a simple cap: A flat board (typically 3/4 inch thick, 3–6 inches tall) runs along the top of the cabinets, and a small cap molding finishes the top edge. Fine Homebuilding recommends this approach for tall ceilings where a frieze board supports the crown and creates a floor-to-ceiling look without the expense of extra cabinets. It is also inexpensive and low-maintenance.
Stacked molding: Two or more profiles layered together to build height and visual weight. A common combination is a flat filler strip topped with a smaller cove or bead. Stacked assemblies work well on 10-foot-plus ceilings where a single profile would look undersized.
Simple header band: A flat, square-edged board that caps the cabinet top with no curves or ornamentation. This is the right choice for slab-door or frameless modern kitchens where any curved profile would look out of place. Pair it with a modern cabinet design for a clean, intentional result.
Open display or no trim: Some contemporary kitchens deliberately leave the space above upper cabinets open for display or lighting. This works when cabinets run close to the ceiling (within 2–3 inches) or when the design calls for floating shelves rather than upper boxes.
For shaker doors, a simple cove or craftsman profile reads as intentional. For raised-panel doors, a traditional ogee or built-up stacked profile fits the formality of the door style. Slab doors pair best with a flat header band or no trim at all. Matching your interior door style to your crown profile choice is a quick way to confirm you are working in the same design register throughout the space.
Key Takeaways
Choose profile width by ceiling height, material by finish type and moisture exposure, and always build a nailer strip before cutting crown.
| Point | Details |
|---|---|
| Size by ceiling height | Use 2.5–3.5-inch profiles for 8-foot ceilings; step up to 4.5 inches or wider for 9–10-foot ceilings. |
| Material by finish and moisture | MDF for paint-grade; solid wood for stain-grade; polymer for steam-heavy zones above ranges or dishwashers. |
| Build a nailer first | Attach a nailer block to cabinet tops before measuring; nailing into thin face frames alone causes sag and joint gaps. |
| Measure in-situ | Use a gauge block cut from scrap molding to mark crown position; tape-only measurements cause fit errors at corners. |
| Best Cabinet Specialist | Offers RTA cabinets with matching trim options in paint- and stain-grade finishes, with fast shipping for project-ready orders. |
The detail that most guides get wrong
Most crown molding articles treat profile selection as a style question and installation as a technical one. The reality is that they are the same decision. A profile that is too wide for its nailer backing will sag. A coped inside corner on a house with square walls looks identical to a mitered one on day one, but in three years the coped joint is still tight and the mitered one has a visible gap.
The other thing worth saying plainly: proportion matters more than profile detail. A simple 3-inch cove on well-built nailer blocking, caulked and painted cleanly, looks better than an ornate 5-inch dentil crown that was nailed into a thin face frame and never properly primed. The craftsmanship is in the preparation, not the profile catalog.
For inside corners specifically, coping is the right call in almost every American home. Walls and cabinet runs are rarely perfectly square, and a coped joint absorbs that variation without showing it. The extra 10 minutes per corner is worth it every time.
Ready to order cabinets and matching trim from Best Cabinet Specialist?
Getting the crown molding right starts with cabinets that are built to accept it. Best Cabinet Specialist offers affordable, high-quality RTA cabinets with plywood box construction and solid wood doors, available in modern, transitional, and traditional styles that pair directly with the profile families covered here. Paint-grade and stain-grade options are both available, so you can match your crown material choice to your cabinet finish from the start.

The ordering process is straightforward: measure your kitchen using the ceiling-height and cabinet-height guidelines above, pick your profile family and material, then browse the cabinet and trim options at Best Cabinet Specialist. Fast shipping means your project does not sit waiting on a long lead time. Visit cabinet-specialist.com to view current cabinet options and get your kitchen project moving.
Useful sources and spec references
These resources are worth bookmarking for detailed profile specs, cutting diagrams, and installation techniques.
- This Old House — How to Hang Crown Molding on Kitchen Cabinets: The most thorough step-by-step available for DIYers, covering gauge-block technique, coping method, and compound miter angles. Start here for cutting and fitting guidance.
- Fine Homebuilding — Crown Molding for Kitchen Cabinets: Detailed coverage of frieze-board assemblies, flat-cut vs. nested cutting setups, and the 38-degree spring-angle standard. Useful for taller ceiling projects and stacked assemblies.
- Young House Love — How to Install Crown Molding on Cabinets: A practical beginner account of a real kitchen install using scrap-wood backing and basic tools. Good for understanding realistic scope and timeline.
- Ana White — Adding Crown Moulding to Wall Kitchen Cabinets: Shows the 2x2 nailer-block method in detail with photos, including how to handle long runs where molding pieces need to be joined mid-span.
- Manufacturer CAD drawings: Before ordering any profile, download the manufacturer's dimensional drawing and confirm the actual width, depth, and spring angle. Catalog photos are not reliable for fit planning. Most major millwork suppliers publish CAD files or dimensioned PDFs on their product pages.