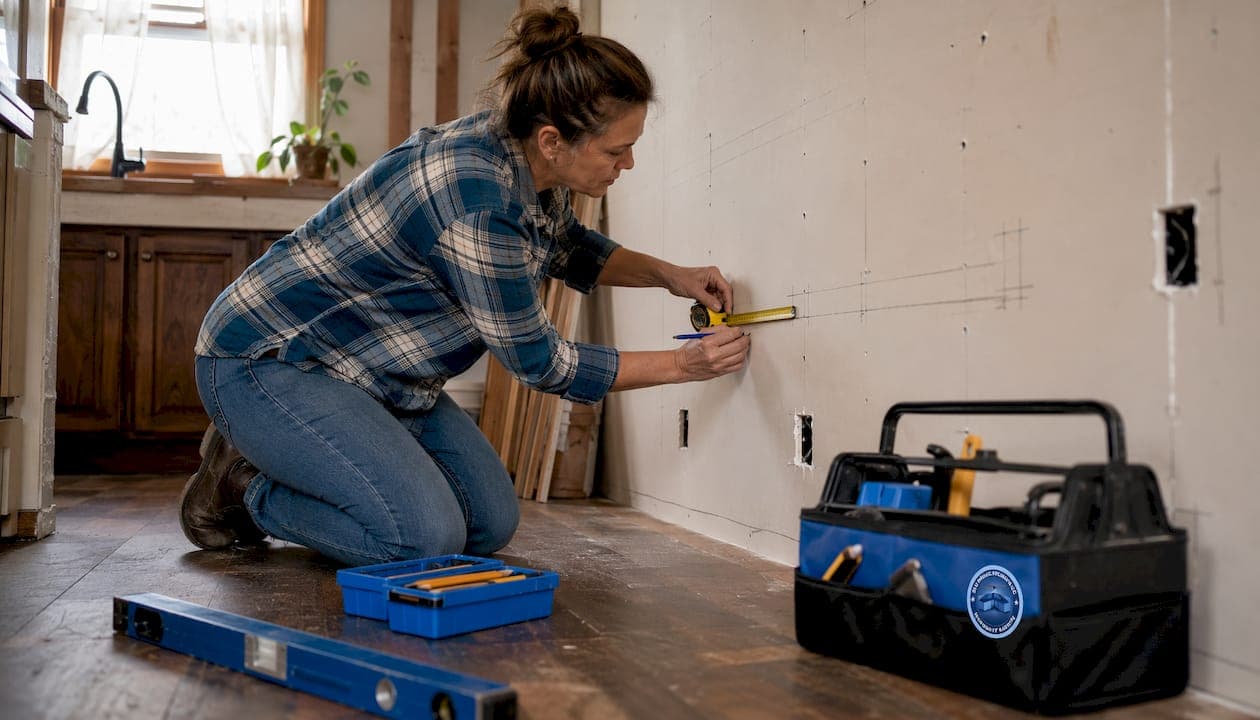
Installing kitchen cabinets on the wall is a straightforward project when you follow the right sequence. Measure carefully, mount to studs, and keep everything level throughout. Here is the process at a glance:
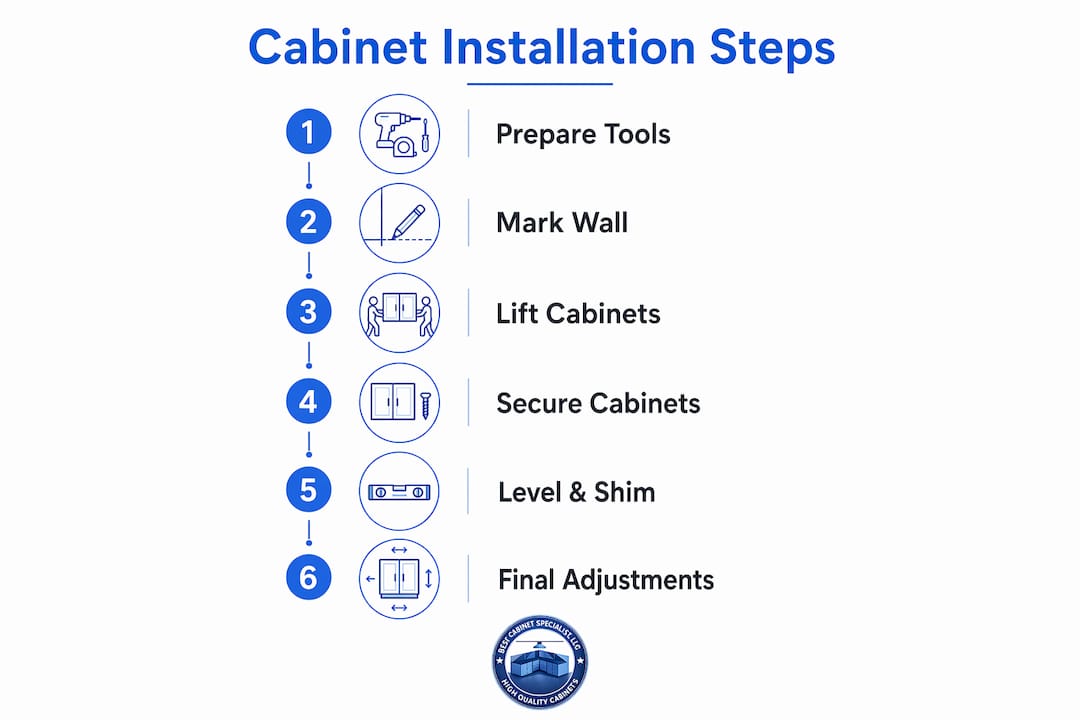
- Find the highest floor point and mark your layout lines
- Locate and mark wall studs
- Remove cabinet doors and drawers to reduce weight
- Install a temporary ledger board below the upper cabinet line
- Lift and rest cabinets on the ledger board
- Fasten cabinets to studs with washer-head screws
- Shim behind and beneath cabinets to correct for wall irregularities
- Clamp and join adjacent cabinets together
- Remove the ledger board once everything is secured
- Reinstall doors, drawers, and hardware
Wall cabinets go in before base cabinets. That way, you have full access to the wall and are not working over installed lower units.
Table of Contents
- What tools and materials do you need for cabinet installation?
- How do you lay out and mark cabinets for precise placement?
- How do you lift, position, and secure cabinets on the wall?
- How do you level, shim, and make final alignment adjustments?
- Ready to start your kitchen renovation?
- Key Takeaways
What tools and materials do you need for cabinet installation?
Getting your tools together before you start saves real time. Here is what you need:
- Stud finder to locate framing behind drywall
- Laser level and 4-foot bubble level for drawing layout lines and checking plumb
- Tape measure and pencil
- Cordless drill with bits
- Washer-head cabinet screws (2½-inch for wall fastening)
- 1¼-inch screws for joining adjacent cabinets face-to-face
- Shims (wood or composite)
- Clamps (ratchet or screw clamps)
- 1x2 ledger board cut to the length of your cabinet run
- Utility knife for trimming shims
- Chalk line for snapping long reference lines
- Safety glasses and work gloves
Cabinet preparation matters just as much as having the right tools. Removing cabinet doors and drawers before installation reduces weight and makes handling safer during lifting. Label each door with painter's tape so reinstallation is quick and accurate.
Working with at least one assistant is essential when lifting standard-sized cabinets. Even a 30-inch cabinet is heavy and awkward to hold steady while you drive screws.
Pro Tip: Never substitute drywall screws for cabinet screws. Drywall screws can snap under load. Use washer-head cabinet screws specifically designed for this application. The wider head distributes load across the cabinet back and prevents pull-through.
How do you lay out and mark cabinets for precise placement?
Accurate layout is the single most critical factor in the final result. A mistake here affects every cabinet in the run, the countertop fit, and appliance clearances. Before you draw a single line, check your kitchen cabinet measurements to confirm your cabinet widths and heights match your plan.
Start by finding the highest floor point. Snap a chalk line across the wall at a convenient reference height, then measure from that line down to the floor at multiple spots. The shortest measurement marks the high point. From there, measure up 34½ inches and draw your base cabinet top line. Then measure 19½ inches above that line and draw the bottom edge line for your upper cabinets.
Here is the full marking sequence:
- Snap a chalk reference line across the wall at roughly 48 inches high
- Measure down to find the highest floor point; mark it clearly
- Mark the base cabinet top line at 34½ inches above the high point
- Mark the upper cabinet bottom line at 19½ inches above the base cabinet line
- Use a stud finder to locate every stud; mark each one on both layout lines
- Transfer stud locations to the backs of your cabinets and pre-drill pilot holes
Plan around electrical outlets and plumbing rough-ins now, not after cabinets are on the wall. Mark their locations on the wall and note which cabinet backs will need cutouts. For sink base cabinets, mark pipe locations on the cabinet back panel before fastening.
Pro Tip: Hold a long straightedge horizontally against the wall along your layout lines to spot bows and bumps. Mark any problem areas with a pencil. You will shim these spots later, and knowing where they are before lifting a cabinet saves a lot of frustration.
How do you lift, position, and secure cabinets on the wall?
The ledger board is the technique that makes this manageable. A temporary ledger board nailed into studs just below your upper cabinet layout line creates a stable shelf that holds cabinets in position while you drive screws. Without it, you and your assistant are holding the cabinet in the air with one hand and drilling with the other.
Cut your 1x2 board to span the full cabinet run and screw it into studs along the bottom of the upper cabinet line. Make sure it is perfectly level. Then follow this sequence:
- Start with the corner cabinet. Beginning at the corner sets a reliable reference point for every cabinet that follows.
- Rest the corner cabinet on the ledger board and confirm it is level and plumb before driving any screws
- Fasten through the cabinet's mounting rail into studs using 2½-inch washer-head screws, top and bottom
- Set the next cabinet on the ledger board, clamp it flush to the first, and check alignment
- Clamp adjacent cabinets together at the face frames, then join them with 1¼-inch screws driven behind the face frames before fastening to the wall
- Continue working outward from the corner, one cabinet at a time
If a stud does not fall within a cabinet's width, use a horizontal metal mounting plate between two studs to provide secure screw anchorage. Do not rely on drywall anchors for cabinet loads.
Pro Tip: Do not fully tighten wall screws until all cabinets in the run are hung and clamped together. Leaving screws slightly loose gives you room to nudge cabinets into alignment. Once the full run looks right, go back and tighten everything down.
How do you level, shim, and make final alignment adjustments?
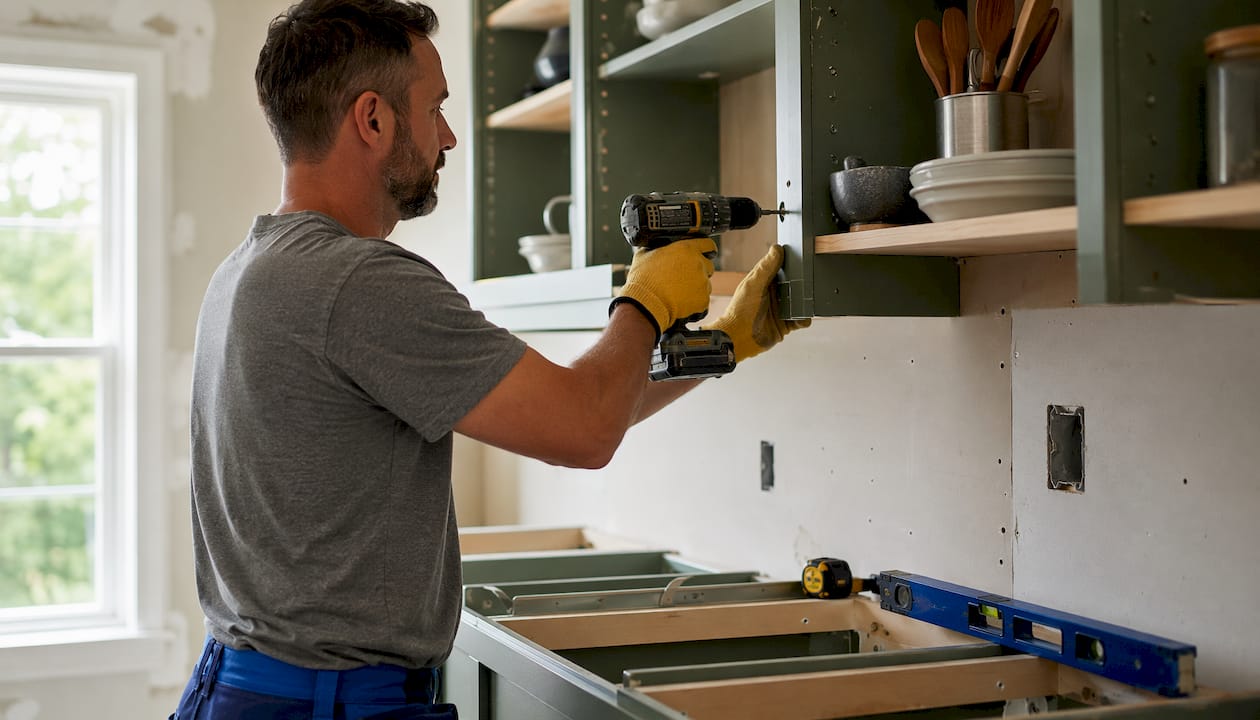
Walls are almost never perfectly straight or plumb. Professional installers plan to shim at nearly every stud location behind cabinets to achieve a straight installation. Expecting a flat wall is the most common beginner mistake.
Shimming corrects alignment issues and prevents gaps or cabinet distortion after mounting. Slide shims between the cabinet back and the wall at each stud location until the cabinet face reads plumb on your level. Drive screws through the shims and into the studs. For base cabinets, shim under the cabinet base where the floor dips below your chalk line.
Follow this checklist for each cabinet:
- Check plumb side-to-side and front-to-back with your bubble level
- Check level across the top front edge
- Insert shims at the wall wherever a gap exists; shim under the base wherever the floor drops
- Drive screws through shims into studs once the cabinet reads true
- Score and snap off protruding shims flush with the cabinet face using a utility knife
Once all wall cabinets are fastened and shimmed, remove the ledger board. Then install your base cabinets using the same approach, working from the high floor point outward.
The finishing touches matter. Rehang cabinet doors and test each one for smooth operation and even gaps. Adjust hinges to correct any tilt or misalignment. Slide drawers into their tracks and confirm they run smoothly. Add knobs and pulls last, using a hardware jig for consistent spacing across the run. If you want ideas for making the most of your newly installed storage, organizing your cabinets right from the start pays off every day.
Pro Tip: Do not over-tighten screws when making final adjustments to doors and hinges. A half-turn too far can strip the hinge mounting hole or pull the door out of alignment. Snug is enough.
Ready to start your kitchen renovation?

The right cabinets make every step of this process easier. Best Cabinet Specialist offers project-ready kitchen cabinets built with plywood boxes and solid wood doors, with fast shipping so your project stays on schedule. Whether you are a first-time DIYer or an experienced contractor, you will find the styles, sizes, and finishes matching your kitchen plan.
Key Takeaways
Installing kitchen wall cabinets requires precise layout lines, stud-anchored fasteners, and consistent shimming to achieve a level, professional result.
| Point | Details |
|---|---|
| Wall cabinets go first | Install upper cabinets before base cabinets so lower units do not block your access. |
| Start at the corner | The corner cabinet sets the reference point; all adjacent cabinets align from it. |
| Use a ledger board | A temporary 1x2 board screwed into studs supports cabinets while you fasten them. |
| Shim every stud location | Walls are rarely flat; plan to shim behind cabinets at each stud to keep faces plumb. |
| Use washer-head screws | 2½-inch washer-head cabinet screws prevent pull-through and hold under real load. |