Building your own cabinets means creating custom storage solutions sized and styled exactly for your space, using accessible tools and materials available at any home improvement store. The face-frame construction method is the standard starting point for DIY builders in the United States. A basic face-frame cabinet box costs $80–$120 in materials, making a full 10x10 kitchen project achievable for $2,000–$3,500 in materials plus $400–$600 in tools. Good quality plywood and solid wood face frames last 25–30 years, compared to 10–15 years for budget cabinetry. With patience and a solid plan, this is a project any dedicated homeowner can complete.
What do you need before you build your own cabinets?
Preparation separates a smooth build from a frustrating one. Before you cut a single board, you need to know your layout, your materials, and your tools.
Tools you will need
The core tool list for face-frame cabinet construction includes a circular saw with a rip guide, a crosscut guide, a drill/driver, a pocket hole jig, and clamps. A full tool set runs $400–$500 total. A circular saw with a guide track costs $50–$100 and handles most cuts a table saw would, at a fraction of the price. You do not need a table saw to get started.
- Circular saw with a straight-edge guide for ripping plywood
- Pocket hole jig (such as the Kreg Jig) for joining face frame parts and screw rails
- Drill/driver with bits for pilot holes and driving screws
- Clamps (at least four) to hold parts square during glue-up
- Tape measure, combination square, and marking pencil for layout
- Random orbital sander for finishing surfaces before paint or stain
Choosing your materials
Cabinet-grade plywood is the right choice for the box. Use 3/4-inch plywood for sides, top, and bottom, and 1/4-inch plywood for the back panel. One 4x8 sheet of 3/4-inch plywood typically covers a 30-inch wide base cabinet. For face frames, use straight, dry dimensional lumber such as poplar or maple, which machines cleanly and takes paint well. Check out this plywood buyer's guide to understand grades and what to look for at the lumber yard.
| Material | Thickness | Use |
|---|---|---|
| Cabinet-grade plywood | 3/4 inch | Sides, top, bottom, shelves |
| Cabinet-grade plywood | 1/4 inch | Back panel |
| Poplar or maple lumber | 3/4 inch x 1.5 inch | Face frame rails and stiles |
| Iron-on edge banding | N/A | Exposed plywood edges |
Planning your layout and cut list
Measure your space twice and draw a scaled layout before ordering materials. Batching cuts for all cabinets at once saves time, keeps dimensions consistent across your run, and helps you catch errors before wood is wasted. Create a detailed cut list that names every panel, its dimensions, and which cabinet it belongs to.
Pro Tip: Label every panel with a pencil mark on the back face as soon as you cut it. Mixing up similar-sized pieces is one of the most common beginner mistakes.
How do you build the cabinet box step by step?
The cabinet box, also called the carcass, is the foundation of every cabinet. Get this right and everything else follows.
-
Mark and cut all panels. Use your cut list and a straight-edge guide clamped to the plywood. Cut sides, top, bottom, and back panels for all cabinets before moving to assembly. Consistent cuts across the batch prevent fit problems later.
-
Drill shelf pin holes before assembly. Drilling shelf pin holes while panels lie flat is more accurate than drilling after the box is assembled. Use a shelf pin jig with a depth stop or a strip of tape on your drill bit to control hole depth. Crooked or inconsistent holes are nearly impossible to fix once the box is glued up.
-
Cut dado grooves for the back panel. Run a 1/4-inch dado groove along the inside face of each side panel, about 3/8 inch from the back edge. This groove captures the back panel and keeps it from racking. A router with a straight bit or a dado blade on a table saw both work well here.
-
Apply edge banding to visible edges. Iron-on veneer edge banding covers the raw plywood edges on the front of each side panel. Apply it before assembly using a household iron, then trim the excess with a sharp utility knife or an edge banding trimmer. This step is easy to skip and hard to fix later.
-
Assemble the box with glue and pocket screws. Apply wood glue to the mating surfaces, then drive pocket screws through the top and bottom panels into the side panels. Work on a flat surface. Check for square by measuring diagonally corner to corner. Both measurements must match before the glue sets.
-
Slide in the back panel. Fit the 1/4-inch back panel into the dado grooves. The back panel squares the box and adds significant rigidity. Tack it in place with a few brad nails or small screws along the bottom edge.
-
Install screw rails. Attach a horizontal rail of 3/4-inch plywood or solid wood across the top inside of the cabinet, set back from the front edge. This rail gives you a solid anchor point for screwing the cabinet to the wall during installation.
Pro Tip: Apply clamps across the top and bottom of the box while the glue dries. Even slight bowing in the panels will cause problems when you attach the face frame.
How do you add face frames, doors, drawers, and hardware?
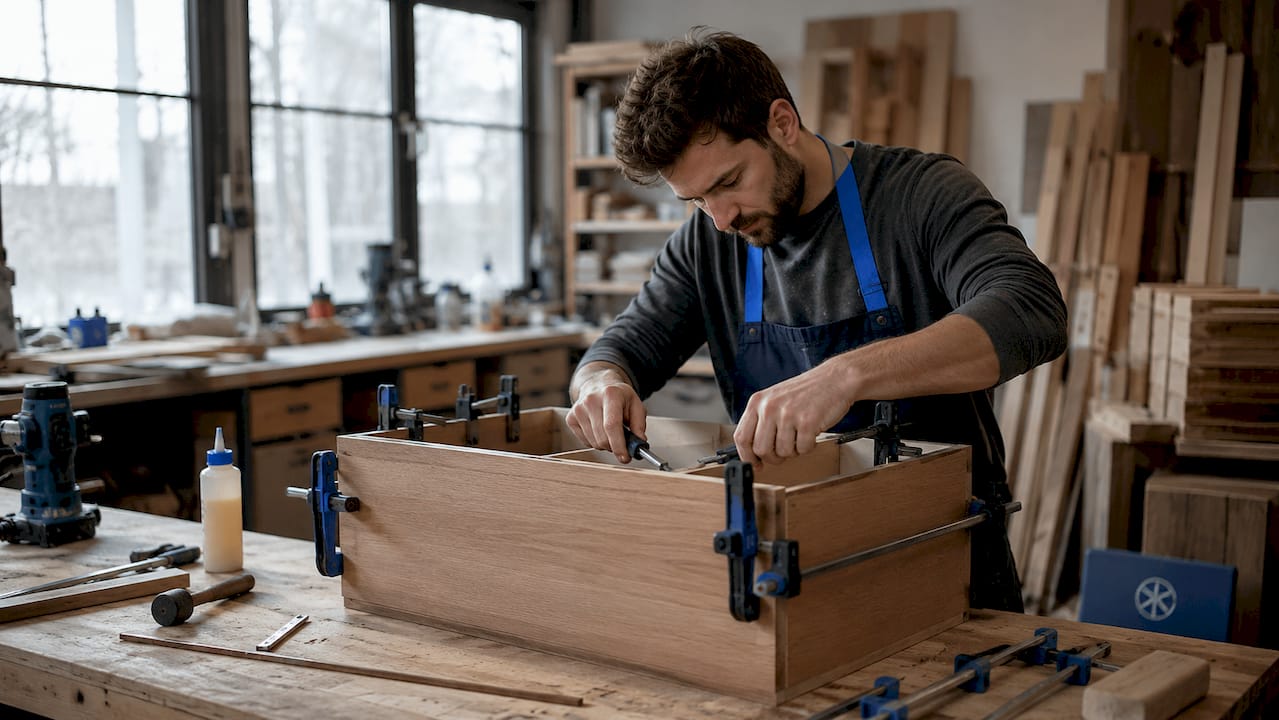
The face frame is what you see on a finished cabinet. Face-frame construction is the most forgiving method for beginners because the frame hides imperfect cuts along the box edges and adds rigidity to the whole structure.
Building and attaching the face frame
Cut your stiles (vertical pieces) and rails (horizontal pieces) from straight dimensional lumber. Join them with pocket screws and wood glue using your pocket hole jig. The assembled frame should match the front face of the cabinet box exactly. Spread glue on the front edges of the box, clamp the frame in place, and secure it with finish nails or pocket screws driven from inside the box.
- Cut stiles to the full height of the cabinet
- Cut rails to fit between the stiles
- Drill pocket holes on the back face of rails before assembly
- Clamp the frame flat while glue dries to prevent warping
Installing drawers and doors
Drawer boxes are typically built from 1/2-inch plywood or solid wood, joined at the corners with pocket screws. Install full-extension drawer slides according to the manufacturer's instructions, checking that each slide is perfectly level before driving screws. Precision in drawer slide calibration and hinge adjustment determines whether your finished cabinet looks professional or amateurish. Mistakes here cause binding and uneven gaps that are difficult to correct after installation.
Full overlay doors are the easiest choice for face-frame cabinets. They cover the face frame almost completely, which means minor alignment imperfections disappear behind the door. Use adjustable European-style cup hinges, which allow you to fine-tune door position in three directions after hanging.
Pro Tip: Mount hinges on all doors before hanging them. Lay the door face-down, position the hinge cups in their mortises, and drive the screws. Consistent hinge placement across all doors makes final alignment much faster.
Finishing before installation
Sand all surfaces to 150 grit, then 220 grit before priming. Apply a shellac-based primer to seal the wood grain, especially on poplar, which tends to blotch under water-based paint. Two coats of cabinet-grade latex paint in a satin or semi-gloss finish gives a durable, cleanable surface. Staining is an option for natural wood looks, but requires more prep work to achieve even color.
How do you install your cabinets correctly?
Installation is where all your careful building pays off. Rushing this phase undoes good work.
- Find and mark all wall studs before moving cabinets into position. Use a stud finder and mark stud centers with painter's tape at the height where your screw rail will land.
- Establish a level reference line across the wall at the height of your upper cabinets or base cabinet tops. A laser level is the fastest tool for this. A 4-foot bubble level works just as well.
- Use a sub-toe kick platform for base cabinets. A platform approach simplifies leveling across an entire kitchen run, since you level the platform once rather than each individual cabinet.
- Clamp adjacent cabinets together before driving screws into the wall. Align the face frames flush and level, then clamp them face-to-face and drive screws through the side panels to join them into a single run.
- Drive screws through the screw rail into studs. Use at least two screws per stud. Cabinet-grade screws rated for the load are the right choice here.
- Install toe kicks and trim last. Cut toe kick panels to fit and attach them with construction adhesive or finish nails. Scribe molding covers any gaps between the cabinet tops and the ceiling or soffit.
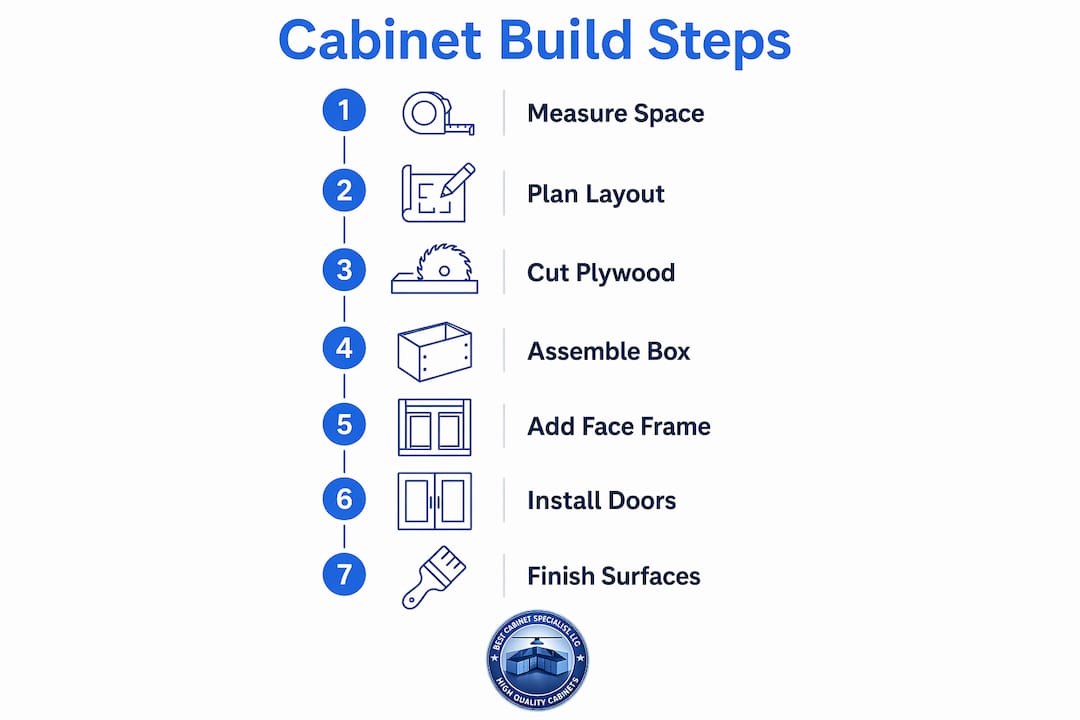
"Cabinet building involves nine key stages, from planning and measuring to finishing and installation. The first cabinet takes a full afternoon, but speed improves significantly on every build after that."
Troubleshoot binding doors by adjusting the European hinges with a screwdriver. Most binding comes from a door that is not sitting parallel to the face frame. Misaligned cabinets in a run are fixed by loosening the joining screws, shimming, and re-clamping before re-driving.
Key Takeaways
Building your own cabinets with the face-frame method delivers custom, durable storage at a fraction of retail cost, provided you plan carefully, batch your cuts, and prioritize precision in face frames and hardware installation.
| Point | Details |
|---|---|
| Face-frame method is best for beginners | It hides imperfect cuts and adds rigidity, making the build more forgiving. |
| Plan and batch all cuts first | Cutting all panels at once saves time, improves consistency, and catches errors early. |
| Drill shelf pin holes before assembly | Flat panels are far easier to drill accurately than an assembled box. |
| Hardware precision determines the finish | Drawer slides and hinges must be calibrated carefully to avoid binding and gaps. |
| Installation requires a level reference line | A level baseline across the wall prevents cascading alignment problems across the cabinet run. |
What I have learned from building cabinets the hard way
The first set of cabinets I built took three times longer than I expected. Not because the process is complicated, but because I underestimated how much time lives in the details. Measuring twice sounds like a cliché until you cut a panel 1/4 inch short and have to drive back to the lumber yard.
The single biggest shift in my builds came when I stopped building one cabinet at a time and started treating the whole kitchen as a batch production run. Cutting all panels in one session, drilling all shelf pin holes in one session, and assembling all boxes in one session reduced my total build time by a third and produced noticeably more consistent results.
My honest advice for first-time builders: start with a small project like a laundry room cabinet or a bathroom vanity before tackling a full kitchen. The techniques are identical, but the stakes are lower and the learning curve is shorter. You will make mistakes on your first cabinet. That is not a problem. It is the process. By cabinet three or four, your cuts will be cleaner, your assembly will be faster, and your confidence will be real.
One thing I wish someone had told me earlier: the face-frame vs. frameless decision matters more than most beginners realize. Face-frame is genuinely more forgiving. Commit to it for your first project and revisit frameless once you have the fundamentals solid.
— Nathan
Quality cabinet components from Best Cabinet Specialist
When you are ready to supplement your DIY build with professional-grade components, Best Cabinet Specialist has you covered. As a women-owned and veteran-owned business, they bring real commitment to quality and value on every order.

Best Cabinet Specialist offers affordable, high-quality cabinets with fast shipping, so you can keep your project moving without waiting weeks for materials. Whether you need complete cabinet boxes, solid wood doors, or hardware to finish your homemade kitchen cabinets, their catalog covers the full range. Their team understands the specific needs of homeowners and contractors working on tight budgets and tighter timelines. Shop their full selection at cabinet-specialist.com and find the right components for your next build.
FAQ
How much does it cost to build your own kitchen cabinets?
A basic face-frame cabinet box costs $80–$120 in materials. A full 10x10 kitchen with 12–15 cabinets runs $2,000–$3,500 in materials plus $400–$600 in tools.
What is the easiest cabinet construction method for beginners?
Face-frame construction is the easiest method for beginners. The frame hides imperfect cuts along the box edges and adds rigidity, making the build more forgiving than frameless construction.
What type of plywood should I use for cabinet boxes?
Use 3/4-inch cabinet-grade plywood for sides, top, and bottom, and 1/4-inch plywood for the back panel. One 4x8 sheet of 3/4-inch plywood typically covers a 30-inch wide base cabinet.
How long does it take to build a cabinet?
The first cabinet takes a full afternoon for most beginners. Build speed improves significantly on each subsequent cabinet as you develop a rhythm with your tools and process.
Do I need a table saw to build cabinets?
A table saw is not required. A circular saw with a straight-edge guide handles all the same cuts at a cost of $50–$100, compared to $300–$600 for a table saw.