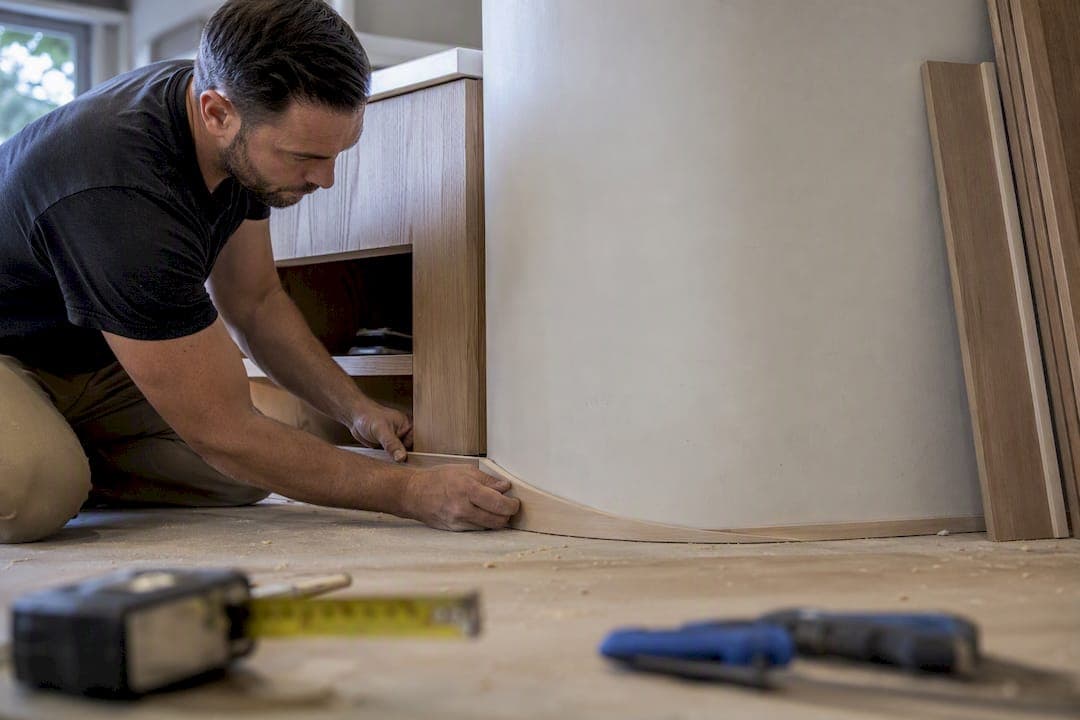
Scribe molding is a thin strip of trim, typically about three quarters of an inch wide or less, that closes the gap between a cabinet edge and an uneven wall, ceiling, or floor. If your walls are straight and true, a pre-made prefinished strip installs in minutes. If they're wavy (most are), plan to scribe on-site with a compass for a tight, custom fit. Either way, the National Kitchen & Bath Association treats clean trim work as a baseline of professional installation, and Best Cabinet Specialist stocks matching trim so your cabinets don't end up with a mismatched fix.
- Straight wall, minor gap: buy a pre-made prefinished strip and trim to length.
- Wavy or out-of-square wall: buy raw stock and scribe with a compass on-site.
- Not sure which: hold a straightedge against the wall. Any visible daylight means you'll be scribing.
Key Takeaways
Scribe molding works because it's cut to follow your wall's exact contour, closing gaps a straight piece of trim never could.
| Point | Details |
|---|---|
| Definition | Scribe molding is a thin trim strip, usually under 3/4 inch wide, cut to match wall or ceiling contours. |
| Buy vs. scribe decision | Straight walls take pre-made strips; wavy walls need on-site scribing with a compass. |
| Most critical tool | The scribing compass transfers the wall's contour directly onto the trim for an accurate cut. |
| Threshold for action | Gaps visible to the eye or wider than about 1/16 inch at the finish line should be scribed, not just caulked. |
| Matching source | Best Cabinet Specialist offers matching trim and prefinished strips alongside plywood-box cabinets for a consistent finish. |
Table of Contents
- What Is Scribe Molding and How Does It Differ From Filler, Casing, and Crown?
- Why Does Scribe Molding Matter for a Finished Cabinet Installation?
- Which Materials and Profiles Work Best for Cabinet Scribe Trim?
- What Tools and Prep Work Do You Need Before Scribing?
- How Do You Scribe and Install Cabinet Molding Step by Step?
- Where Should You Buy Scribe Molding for Cabinets?
- How Do You Finish Scribe Molding for a Seamless Look?
- Is Scribe Molding Worth the Extra Effort?
- How Best Cabinet Specialist Helps You Finish the Job
- Sources
What Is Scribe Molding and How Does It Differ From Filler, Casing, and Crown?
Scribe molding is a narrow trim strip, typically under 3/4 inch wide, cut with a concave or angled profile so one edge follows the exact contour of an irregular surface. It's a functional trim first and a decorative one second. Casing and crown are decorative by design; scribe exists to disappear.
- Scribe: thin, contour-cut trim that hides gaps at walls, ceilings, or floors next to cabinet boxes.
- Filler strip: a flat wood panel used to fill wide spaces between cabinets or between a cabinet and an appliance, not shaped to a contour.
- Casing: wider decorative trim around doors, windows, or cabinet openings.
- Crown molding: larger ornamental trim at the top of upper cabinets, chosen for style rather than gap-filling.
You'll see scribe molding most often where a base cabinet meets an out-of-plumb wall, where an upper cabinet meets an uneven ceiling, and at the toe-kick where the floor isn't perfectly level.
Why Does Scribe Molding Matter for a Finished Cabinet Installation?
A scribed edge hides gaps, keeps crumbs and moisture out of that gap, and makes stock cabinets look built-in rather than dropped into place. It also protects the cabinet's finish edge from the kind of chipping that happens when a box is jammed tight against an uneven wall.
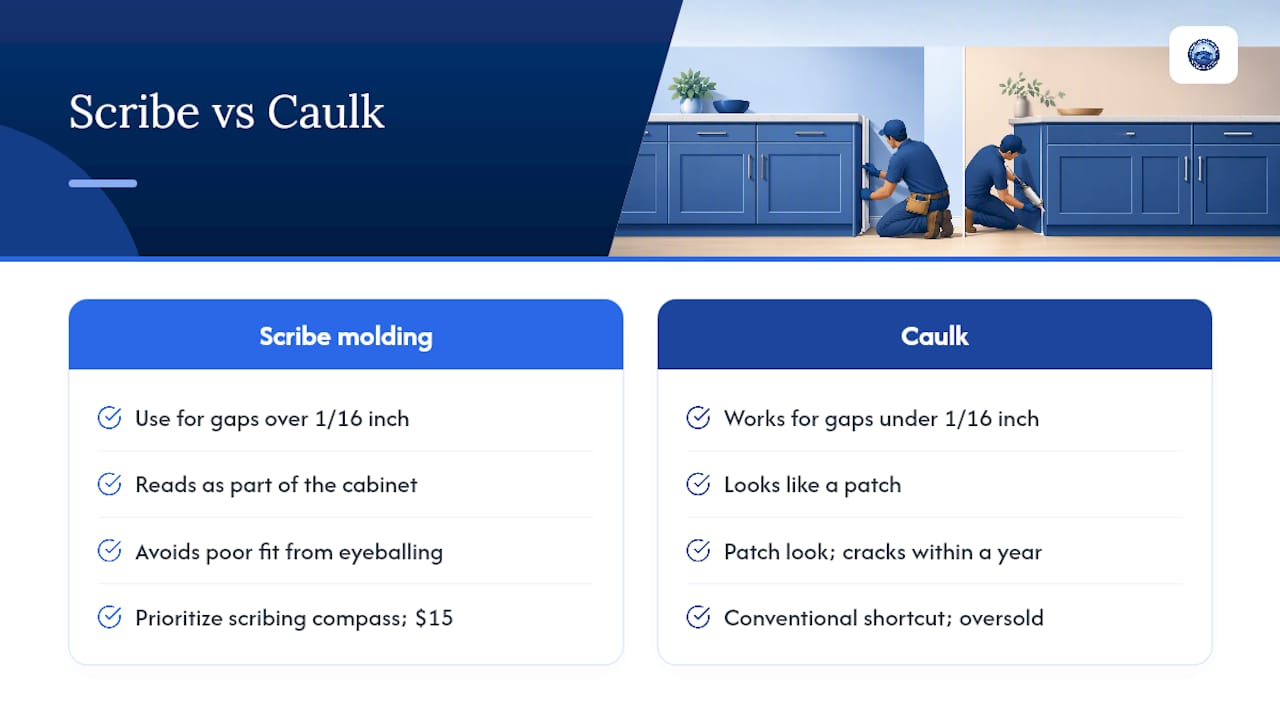
Even new construction rarely produces a perfectly flat wall. Any gap visible to the eye, or measuring more than about 1/16 inch at the finish line, is worth scribing rather than caulking over. Caulk can bridge a hairline gap, but it telegraphs a bulge if the gap is inconsistent along the run.
- Closes visible gaps for a seamless, custom look.
- Keeps debris from collecting behind cabinet ends.
- Protects cabinet edges from wall contact damage.
- Reads to the eye as built-in millwork, not a retrofit.
Pro Tip: If you're facing long runs, curved walls, or cabinets that are already fastened in place, hand the job to a finish carpenter. A few bad scribe cuts on installed cabinetry are far harder to fix than a fresh piece of trim.
Which Materials and Profiles Work Best for Cabinet Scribe Trim?
Your finish determines your material. Painted cabinets pair well with poplar or primed MDF, since both take paint smoothly and cost less than hardwood. Stained cabinets need a species match, typically maple or oak, so grain and color read consistently next to the cabinet door.
- Poplar: affordable, paintable, stable, the standard choice for painted kitchens.
- Maple or oak: matches stained cabinet doors when grain visibility matters.
- MDF (primed): smooth and consistent for paint, but not suited to staining or high-moisture areas.
- Flexible PVC: bends around bowed or curved walls where wood would crack or need excessive scribing.
- Prefinished strips: already stained or painted at the factory, saving a finishing step for straightforward runs.
Standard scribe stock runs approximately three quarters of an inch wide, similar to the under-cabinet light rail moulding used to hide task lighting, though light rail is a decorative finishing piece rather than a gap-filler. Thinner profiles exist for tight reveals near light rails or shallow toe-kick returns. If you're weighing MDF against solid wood for the boxes themselves, our MDF vs. plywood guide breaks down where each substrate makes sense.
What Tools and Prep Work Do You Need Before Scribing?
Gather everything before you start cutting, so you're not mid-project hunting for a tool.
- Tape measure and pencil
- Scribing compass (the single most important tool for this job)
- Coping saw or jigsaw for cutting the scribed line
- Miter saw for length cuts
- Brad nailer or finishing nails and a nail set
- Sandpaper, wood glue, caulk, and wood putty
Measure every run first, then order some extra material to cover cutting waste and mistakes. Prefinish strips with paint or stain before installing if you can, to save finishing steps. It's far easier than touching up paint after the piece is nailed to the cabinet.
Pro Tip: A scribing compass costs less than $15 and does the one thing nothing else can: it transfers the exact wave of your wall onto the molding in one pass, instead of you eyeballing a dozen small trim cuts.
How Do You Scribe and Install Cabinet Molding Step by Step?
- Measure and rough-cut. Cut your scribe stock a couple of inches longer than the finished run.
- Set up the scribe. Hold the molding against the cabinet edge, open your compass to the widest gap, and run the point along the wall while the pencil traces the contour onto the trim.
- Cut the scribed line. Use a coping saw or jigsaw to follow the pencil line, cutting on the waste side.
- Test-fit. Hold the piece in place. If it doesn't sit flush, mark the tight spots and shave them down with a sanding block or block plane.
- Repeat as needed. On badly out-of-plumb walls, work in two passes: a rough pass to remove bulk material, then a finer pass to refine the line until the gap sits under about 1/16 inch.
- Glue and nail. Apply a thin bead of glue along the back edge only, then secure with brad nails.
- Finish the joint. Set the nails, fill holes with putty, caulk the seam against the wall, and touch up paint or stain.
A back bevel, angling the cut edge back slightly rather than cutting square, reduces the visible gap on tricky outside corners, since it lets the front face sit tighter against the cabinet even if the hidden edge isn't perfect. Inside corners usually cope cleanly; outside corners often need a compound miter plus a light scribe pass.
Keep your glue bead thin. A heavy bead squeezes out under nailing pressure and leaves a visible smear that's tough to clean off a finished surface once it sets. Wear eye protection with the jigsaw and miter saw, and clamp small pieces rather than holding them freehand while cutting.

Pro Tip: Test-fit twice before you commit to nails. A piece that looks right standing back rarely looks right until you've run your hand along the seam and felt for gaps.
Where Should You Buy Scribe Molding for Cabinets?
You have three realistic sources: online moulding retailers, local millwork shops, and your cabinet supplier. Cabinet suppliers have the advantage of matching trim to your exact door finish, since they're working from the same wood species and stain formula as the boxes themselves.
Before you order, run through this checklist:
- Finished vs. unfinished: prefinished saves a step; unfinished lets you color-match imperfections after the fact.
- Species or paint match: confirm it against your actual cabinet door, not a photo.
- Length: 8-foot lengths are standard for most runs.
- Flexibility: ask about PVC or flexible options if your walls bow noticeably.
- Lead time and return policy: especially important for stained matches, since dye lots vary.
- Order some extra material to cover cutting waste and mistakes to cover cutting waste and mistakes.
Prefinished strips make sense for straight runs on a tight schedule. Raw stock finished on-site gives you more control when you're matching an unusual stain. Material costs for basic scribe trim run modestly per linear foot, with hardwood and custom color-matched runs costing more than primed MDF or poplar.
How Do You Finish Scribe Molding for a Seamless Look?
Sand the cut edge smooth before finishing, then stain or paint to match the cabinet door as closely as possible. Fill nail holes with tinted putty, run a thin bead of caulk where the molding meets the wall, and wipe away excess before it skins over.
- Sand, then stain or paint to match the door finish.
- Fill nail holes with color-matched putty.
- Caulk the wall seam and wipe clean immediately.
Pro Tip: Prefinishing the molding before install saves you from painting around a nailed-in piece, and it avoids glue squeeze-out soaking into raw wood. For deeper color-matching guidance between trim and wood doors, this finishing breakdown is worth a look.
Is Scribe Molding Worth the Extra Effort?
Most homeowners treat scribe molding as an afterthought, something to deal with if the gap looks bad enough to notice. That's backward. The gap is going to exist whether you plan for it or not, because almost no wall in a real house is perfectly flat. The only question is whether you close it with a scribed piece of trim or a thick bead of caulk that cracks within a year.
The conventional advice oversells caulk as a shortcut. It works for a gap under 1/16 inch. Beyond that, it looks like exactly what it is: a patch. A properly scribed strip, on the other hand, reads as part of the cabinet.
If you take one thing from this guide, prioritize the scribing compass over every other tool on the list. Homeowners skip it and try to eyeball the cut, then wonder why the fit never looks right. A $15 tool is the difference between trim that looks tailored and trim that looks like it was forced into place. Buy the compass before you buy the molding.
How Best Cabinet Specialist Helps You Finish the Job
Best Cabinet Specialist builds project-ready cabinets with plywood boxes and solid wood doors, and we ship fast so your project doesn't sit waiting on backordered parts.

Getting scribe molding to match a cabinet door is only easy when you're ordering from the same source as the boxes. We offer matching trim options and prefinished strips alongside our cabinet lines, so contractors and homeowners aren't stuck hunting for a species or stain match after the cabinets are already installed. Trade and bulk pricing is available for contractors ordering across multiple units or full kitchens. If you're planning a renovation and want cabinets with trim that fits from day one, browse cabinet options at Best Cabinet Specialist and reach out for a matching trim quote before you place your order.