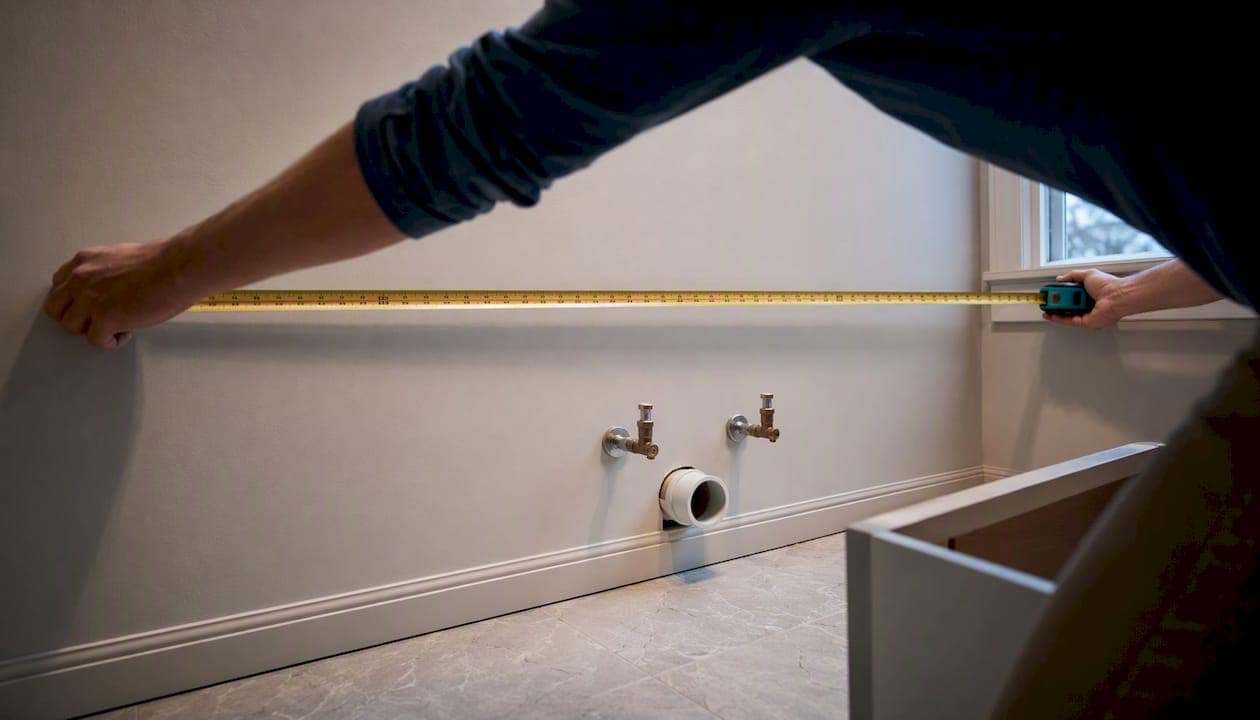
Record three numbers before you shop: available width (checked at three heights), depth including any countertop overhang, and cabinet height based on your sink style. Then locate your drain centerline and supply stub heights and photograph them. Do this before you fall in love with a vanity online, and you'll avoid the single most common (and expensive) fitting mistake.
TL;DR:
- Measure wall width at three heights and use the smallest number, accounting for obstructions, to ensure the vanity will fit without forcing it in.
- Standard vanity depths range from 16 to 24 inches, with heights from 30 inches for traditional to over 36 inches for comfort, depending on sink type and room size.
- Record plumbing rough-in details, including drain centerlines about 12 to 14 inches from the wall and supply stub heights at around 8 inches, photographing everything beforehand.
- Check that clearances meet the NKBA recommended minimums of 30 inches in front and at least 18 inches from the toilet to the vanity centerline for comfort and legal compliance.
- Providing precise measurements plus plumbing photos before ordering reduces installation delays and avoids costly field modifications.
Table of Contents
- How to Measure Available Wall Width for a Bathroom Vanity
- Measuring Depth and Height for Countertop and Sink Type
- Where Are the Plumbing Rough-Ins on a Bathroom Vanity?
- What Clearances and Code Minimums Should You Check?
- How Sink Count and Countertop Choice Change Your Measurements
- Standard Bathroom Vanity Sizes: A Quick Reference
- Common Measuring Mistakes and a Pre-Order Checklist
- Practical Cabinet-Shop Notes From Best Cabinet Specialist
- Why a Measurement-First Approach Actually Saves You Money
- Order the Right Vanity the First Time
- Where to Verify Vanity Sizes and Clearances
- Sources
How to Measure Available Wall Width for a Bathroom Vanity
Pull your tape at three different heights: floor level, at what will be counter height, and near the top of where the vanity will sit. Walls settle unevenly over time, so these three readings often don't match, and that gap matters more than most people expect.
Use the smallest of the three numbers as your working width. That's the number your new vanity has to fit inside, no exceptions.
- Measure to real obstructions, not to the corner. Door trim, a toilet tank, or a shower curb often eats into usable space before the wall ever does.
- Leave roughly 1/8 to 1/4 inch of scribe or filler space on each side so an installer can shim for walls that aren't perfectly square.
- If your walls are noticeably out of square, size down slightly rather than ordering to the exact maximum. A vanity that's a half inch too wide won't go in at all.
This same logic applies to depth. Measuring the wall run and the room depth as two separate numbers, rather than eyeballing one combined figure, is what most online sizing calculators build their recommendations around.
Measuring Depth and Height for Countertop and Sink Type
Standard vanity depth is 21 inches, and it's the right default for most full bathrooms. Powder rooms and tight hallways often call for an 18-inch shallow unit, while 24-inch depths show up mainly on double-sink layouts where you want more elbow room per bowl.
- Depth: 16 to 18 inches for tight spaces, 21 inches as the standard, 24 inches for double sinks or a kitchen-depth look.
- Height: Traditional cabinets finish around 30 to 32 inches; today's comfort height runs 34 1/2 to 36 inches, closer to kitchen counter height and easier on the back.
- Vessel sinks sit on top of the counter, so the cabinet itself needs to be shorter than a standard undermount setup, or the rim ends up too tall to use comfortably.
Always measure countertop overhang separately. Add about an inch to your cabinet's footprint if you're buying a vanity top on its own, and check that overhang clears any backsplash or trim behind it.
Where Are the Plumbing Rough-Ins on a Bathroom Vanity?
Your drain and supply lines dictate what fits inside the cabinet, not just what fits on the wall. Get this wrong and you'll be staring at a beautiful vanity with a P-trap punched straight through a drawer bottom.
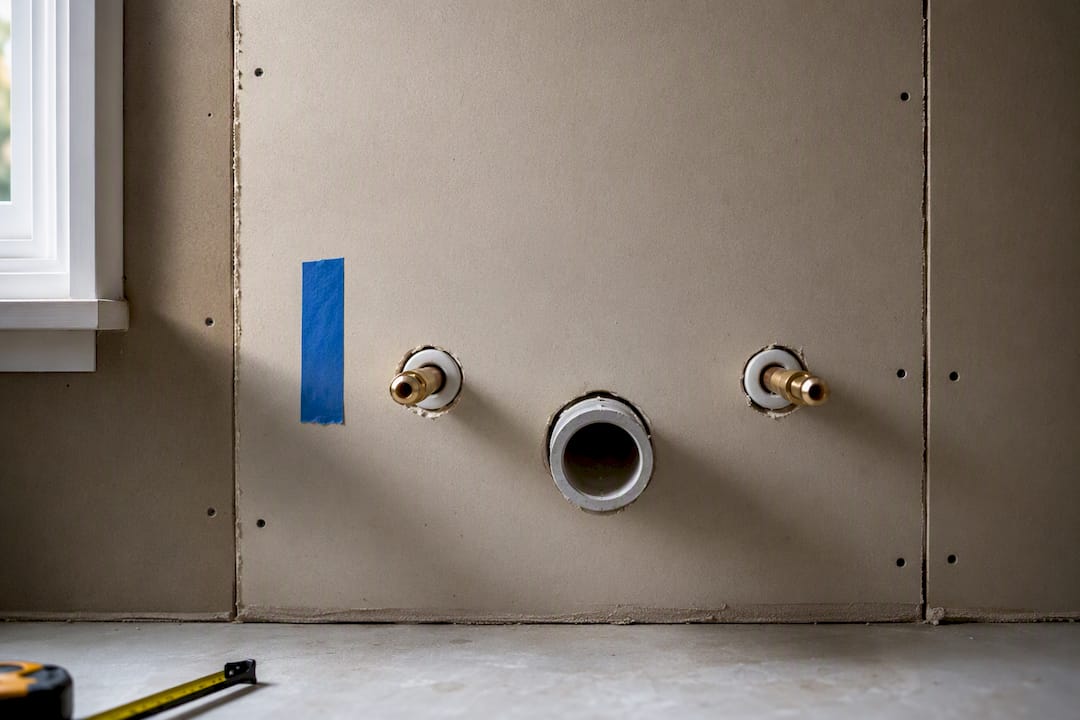
- Find the drain centerline. It typically sits 12 to 14 inches from the finished wall, measured to the center of the drain pipe, not its edge.
- Record the distance from the nearest side wall too, since off-center rough-ins are common in older homes.
- Measure supply stub heights, usually around 8 inches above the finished floor, along with how far they sit horizontally from the drain.
- Photograph the whole area before you close anything up or start shopping. Wide shots and close-ups both help.
The space the drain and trap actually occupy, sometimes called the P-trap envelope, generally runs about 12 to 15 inches wide and 8 to 10 inches tall. Any cabinet shop building or modifying drawers around that zone needs those numbers, not a guess.
Pro Tip: Tape a printed ruler or a piece of painter's tape marked in inches next to the drain and supply lines before you photograph them. It gives the cabinet shop a built-in scale reference, so nobody has to guess dimensions from a phone photo.
What Clearances and Code Minimums Should You Check?
Two sets of numbers matter here: the legal minimum and the comfortable recommendation. Building codes tell you what's allowed. The National Kitchen and Bath Association tells you what actually feels good to live with.
| Clearance | Code minimum (IRC) | NKBA recommendation |
|---|---|---|
| Front clear floor space | 21 inches | 30 inches |
| Toilet to vanity centerline | 15 inches | 18 inches |
| Double-sink centerline spacing | 30 inches | 36 inches |
These minimums come from the IRC and IPC, and passing inspection only requires you to clear that bar. A 60-inch double-sink vanity satisfies the 30-inch minimum spacing, but if your bathroom has the room, 72 inches gets you the NKBA-recommended 36 inches instead, which feels noticeably less cramped at the sink.
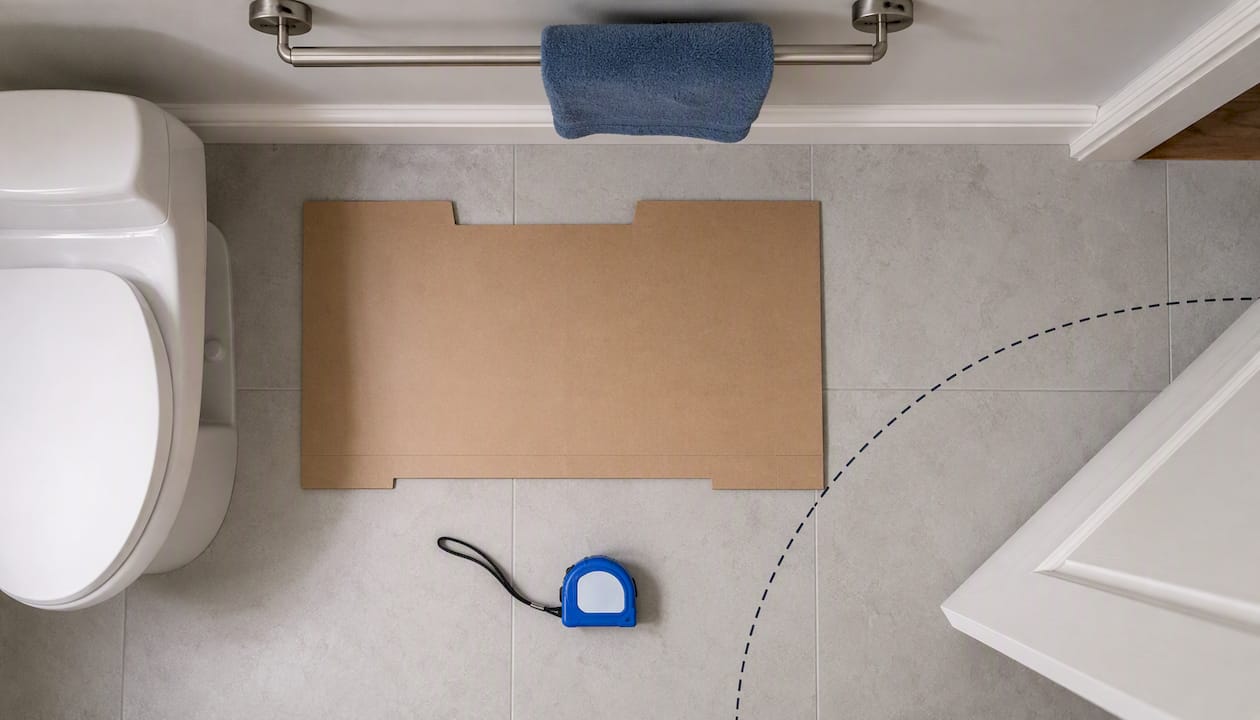
Before you order anything, open a full-size cardboard mockup of the door or drawer and check that it doesn't clip the toilet, a towel bar, or the door swing into the room.
How Sink Count and Countertop Choice Change Your Measurements
A double sink isn't just a wider version of a single sink. It changes your minimum width, your faucet spacing, and often your countertop edge profile too.
- Double-sink vanities need at least 60 inches of width to hit the 30-inch minimum centerline spacing. Anything narrower forces the bowls too close together.
- A single sink on a 60 or 72-inch cabinet often beats a cramped double sink, giving you more usable counter and storage without the tight elbow room two bowls create.
- Check faucet hole spacing on your chosen sink template against the countertop cutout before you finalize either piece; a mismatch here is a common and avoidable delay.
Overhang and edge profile affect functional depth too, so confirm the countertop's front edge doesn't push past your measured clearance line.
Standard Bathroom Vanity Sizes: A Quick Reference
Stock vanities come in predictable width increments, which makes matching your measured wall space to a real product far easier than it sounds.
| Category | Common sizes |
|---|---|
| Widths | 18, 24, 30, 36, 60, 72 inches |
| Depths | 16 to 18 inches (compact), 21 inches (standard), 24 inches (double sink) |
| Heights | 30 to 32 inches (traditional), 34 1/2 to 36 inches (comfort) |
If your usable width lands between two standard sizes, round down rather than up. A narrower depth option also solves plenty of small-bathroom problems without forcing you into a custom order. Wall-mounted, 16 to 18-inch units work well in half baths where every inch of walking space counts. For a full breakdown of matching your measurements to standard vanity widths, see our sizing guide.
Common Measuring Mistakes and a Pre-Order Checklist
Most vanity fitting problems trace back to the same handful of shortcuts. Skip these, and you'll skip the headaches too.
- Measuring to the corner of the room instead of to the nearest real obstruction.
- Ignoring plumbing locations entirely until the cabinet arrives.
- Forgetting to check door swing, both the vanity's own doors and the bathroom door itself.
Before you place an order, run through this:
- Take width readings at floor, counter, and top height; use the smallest.
- Record the drain centerline distance from the finished wall and nearest side wall.
- Note supply stub heights and their horizontal offset from the drain.
- Confirm front clearance meets at least 21 inches, ideally 30.
- Photograph the plumbing area and email the images along with your numbers to your supplier.
Practical Cabinet-Shop Notes From Best Cabinet Specialist
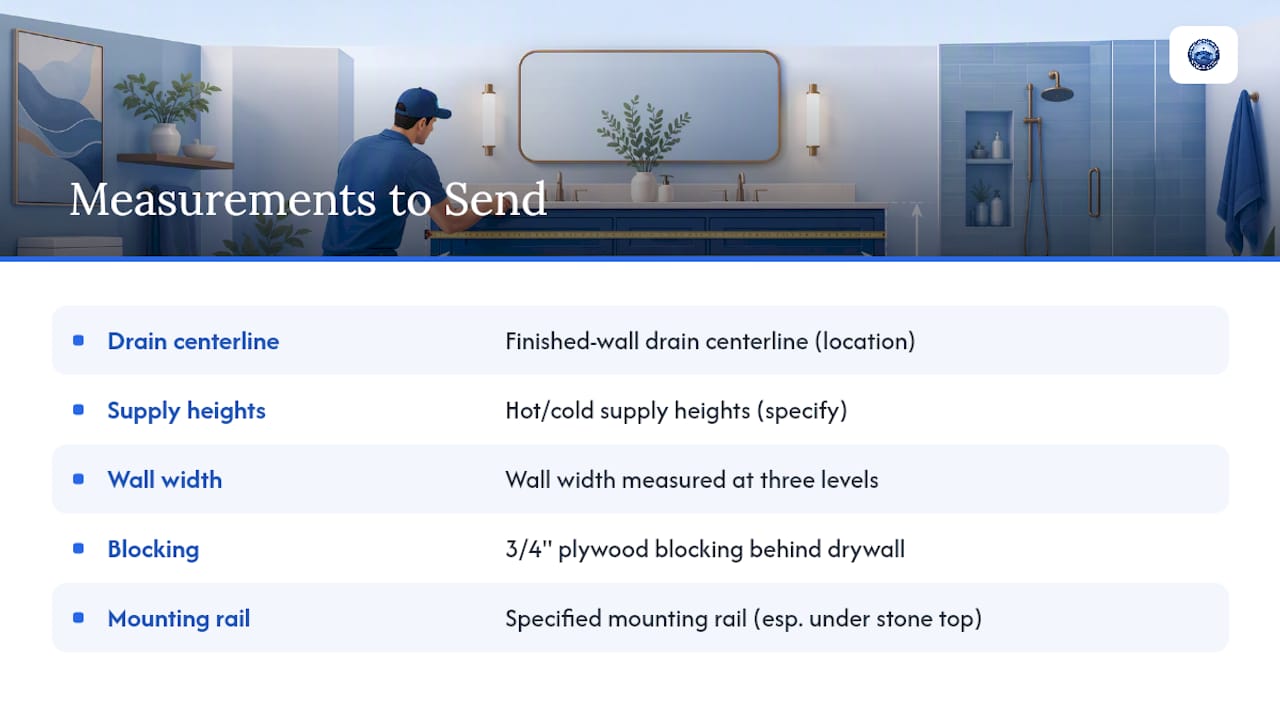
Cabinet shops build to the wall, not to a guess. We need the finished-wall drain centerline and clear photos before fabrication starts, because that centerline decides whether drawers under the sink can run full depth or need a false front to clear the trap.
Floating vanities raise the stakes further. They need 3/4-inch plywood blocking behind the drywall and a specified mounting rail, especially under a stone top. Send your supplier the drain centerline, supply heights, wall width at three levels, and clear plumbing photos, and you'll cut weeks off back-and-forth revisions.
Pro Tip: If you're going with a floating vanity, ask your contractor to confirm blocking placement before the drywall goes up. Adding blocking after the wall is closed is one of the costliest fixes in a bathroom remodel.
Why a Measurement-First Approach Actually Saves You Money
Homeowners who send exact measurements and plumbing photos upfront almost always get their vanity right the first time. It sounds obvious, but most delays we see trace back to a rough-in dimension nobody checked before ordering.
Standard widths and plywood-box construction help too, since installers already know how these cabinets behave and can plan drawer clearance around a documented P-trap location instead of guessing on-site. A little measuring diligence up front turns a stressful install into a routine afternoon.
— Nathan
Order the Right Vanity the First Time
Best Cabinet Specialist is the straightforward alternative to guessing your way through a big-box aisle. We build RTA and assembled bathroom vanities in standard widths with plywood boxes and solid wood doors, ready to ship fast once you know your numbers.

Send us your three width readings, your depth and height targets, and photos of your drain centerline and supply stubs, and we'll help you match them to a size that fits your rough-in without field modifications. Most orders ship quickly once measurements are confirmed, so there's little waiting once you're ready. Browse our bathroom vanity options and get your measurements matched to a cabinet that's actually ready to install.
Where to Verify Vanity Sizes and Clearances
For code specifics or a second opinion on dimensions, cross-check your numbers against the NKBA's published guidelines, IRC/ICC plumbing clearance requirements, and retailer measuring guides from sources like Home Depot. A door-swing reference for bathroom doors is worth a look too if clearance is tight. Always confirm final clearance numbers with your local building department, since amendments to the IRC vary by jurisdiction.
Sources
- Bathroom Cabinets Calculator — RemodelCalculators
- Bathroom vanity shop drawings — Millwork Drawings
- Bathroom Vanity Size Calculator — Designing Idea